We did the Ausangate Trek to Rainbow Mountains!
We did the Ausangate Trek to Rainbow Mountains!
–
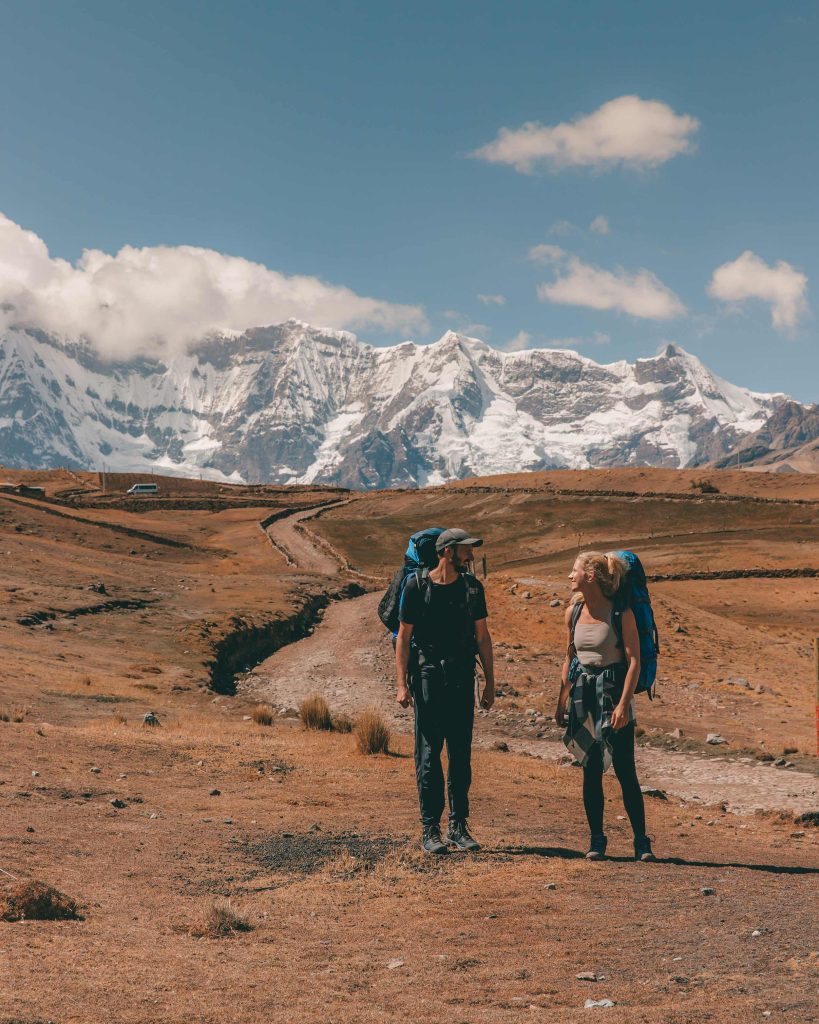
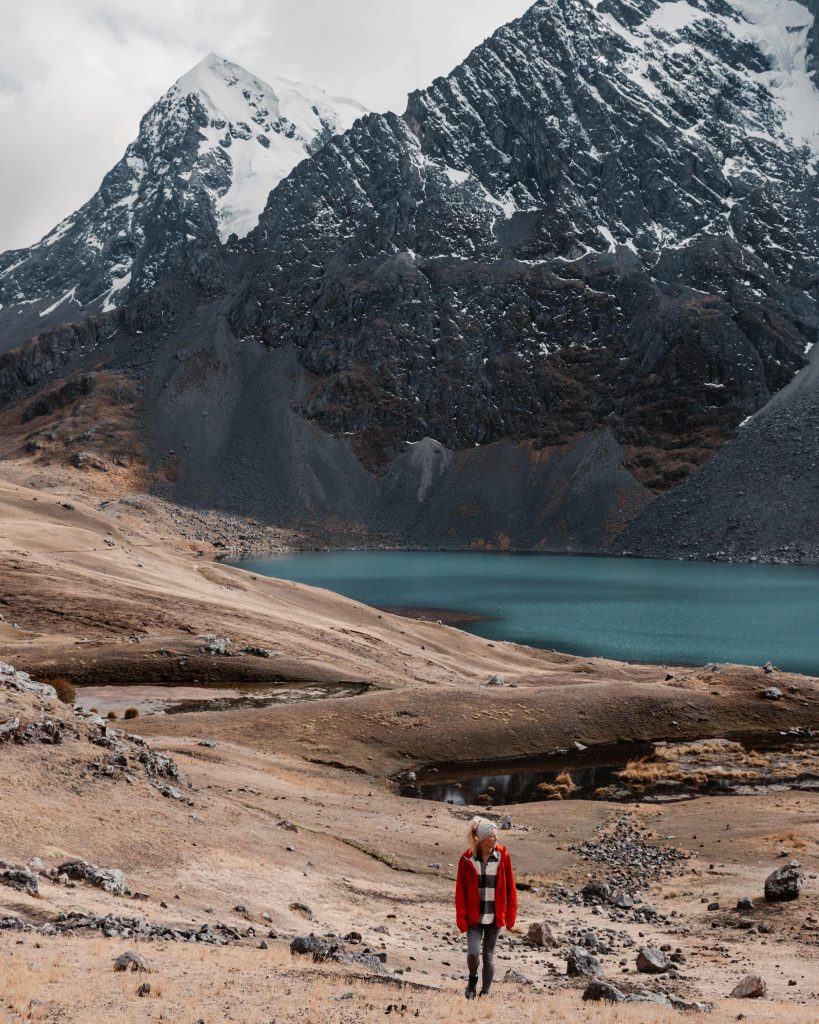
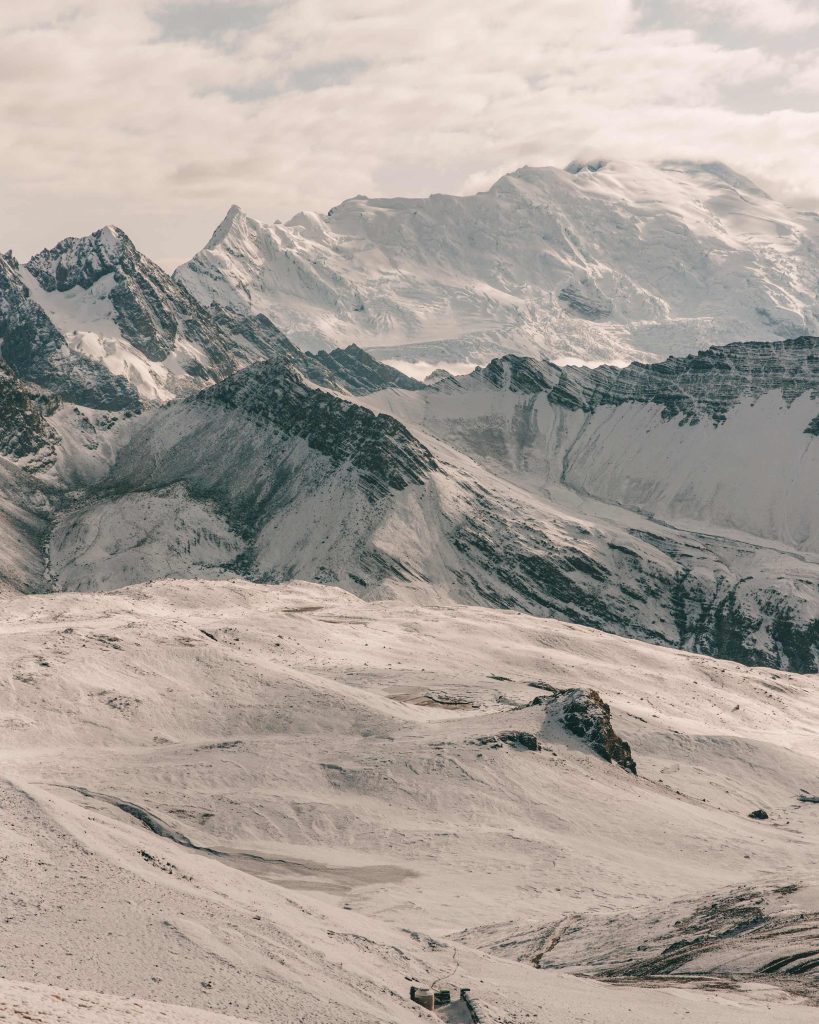
For us the Ausangate Trek in the Peruvian mountains near Cusco is the most beautiful hike you can do in Peru. The total round trip of Ausangate Trek is 70km long, the standard route doesn’t include the Rainbow Mountains. But you can also choose a shorter version of the Ausangate Trek of 3 days, passing the most beautiful parts of this trek: the iconic Pucacocha Lakes and Rainbow Mountains in the end of this trip. The whole trek you will circle around the snowy 6.384 m high Nevado Ausangate Mountain of the Cordillera Vilcanota.
About the Ausangate Trek
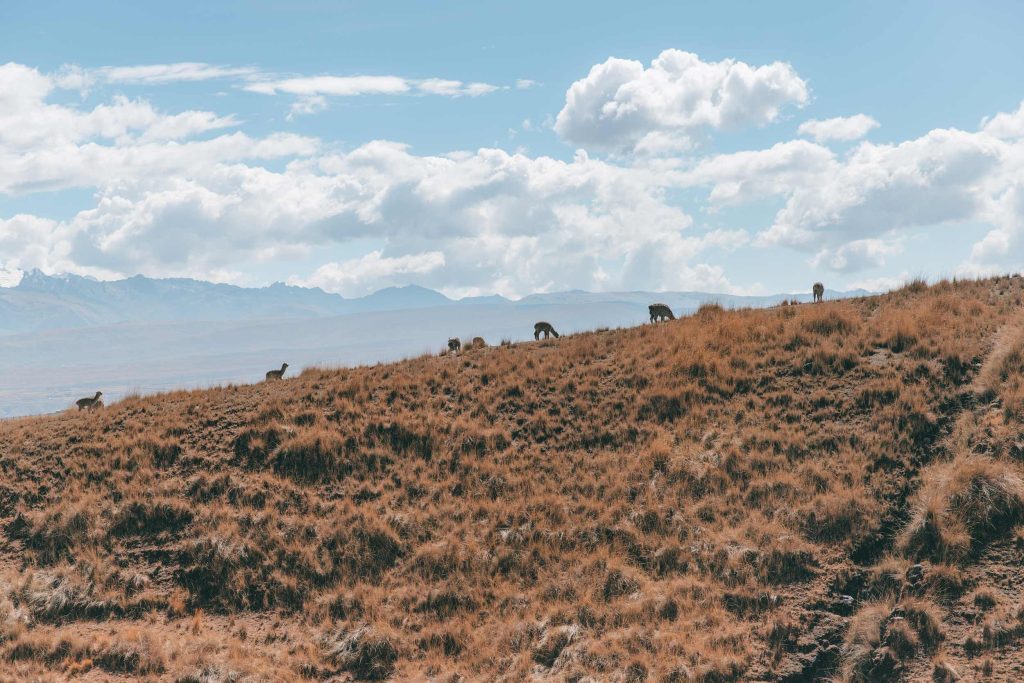
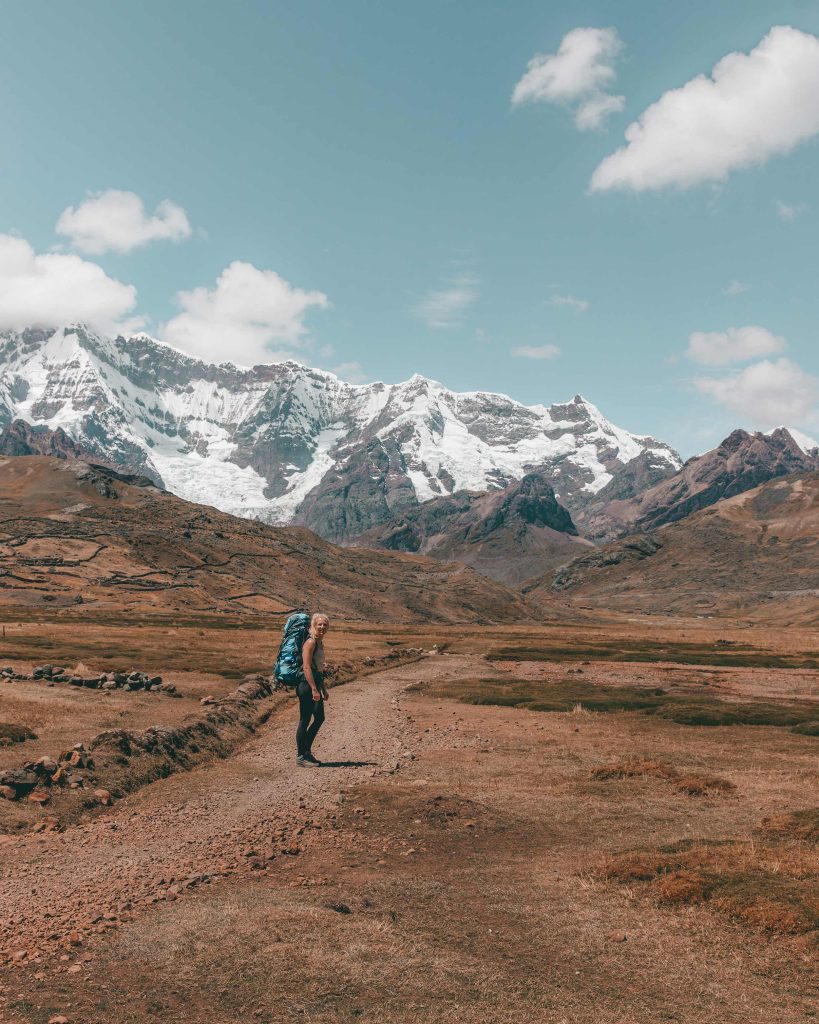
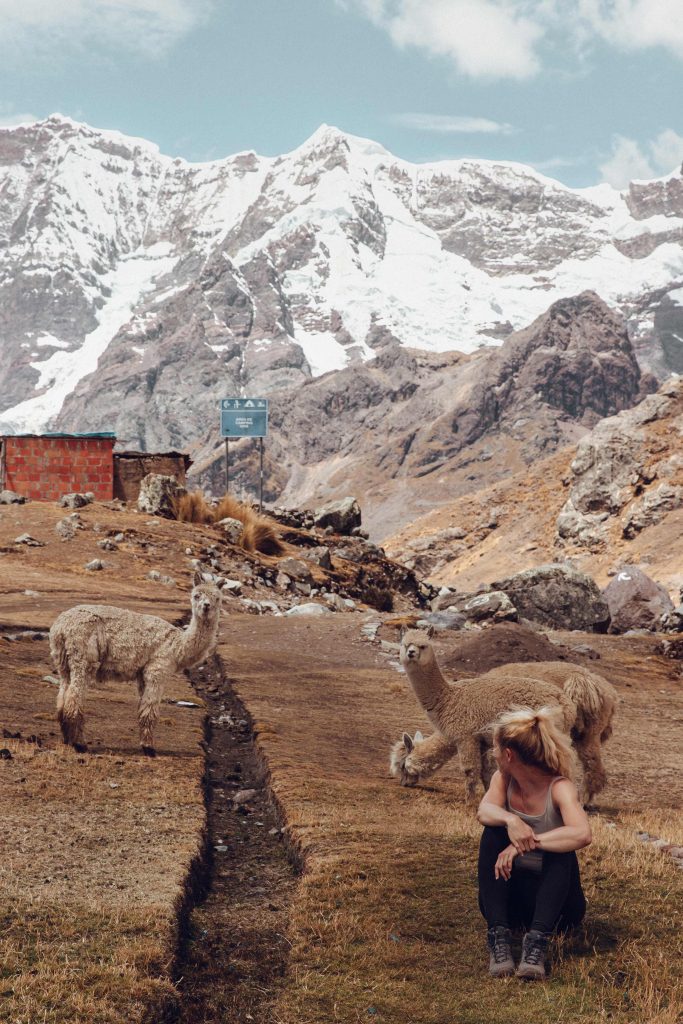
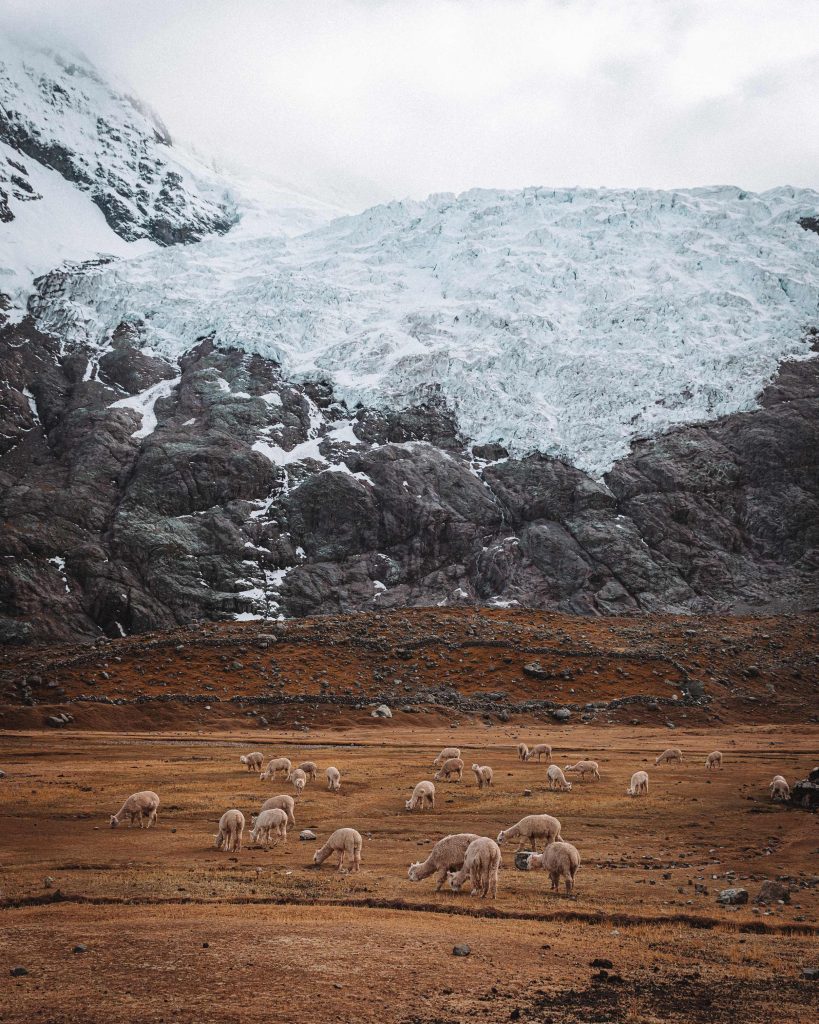
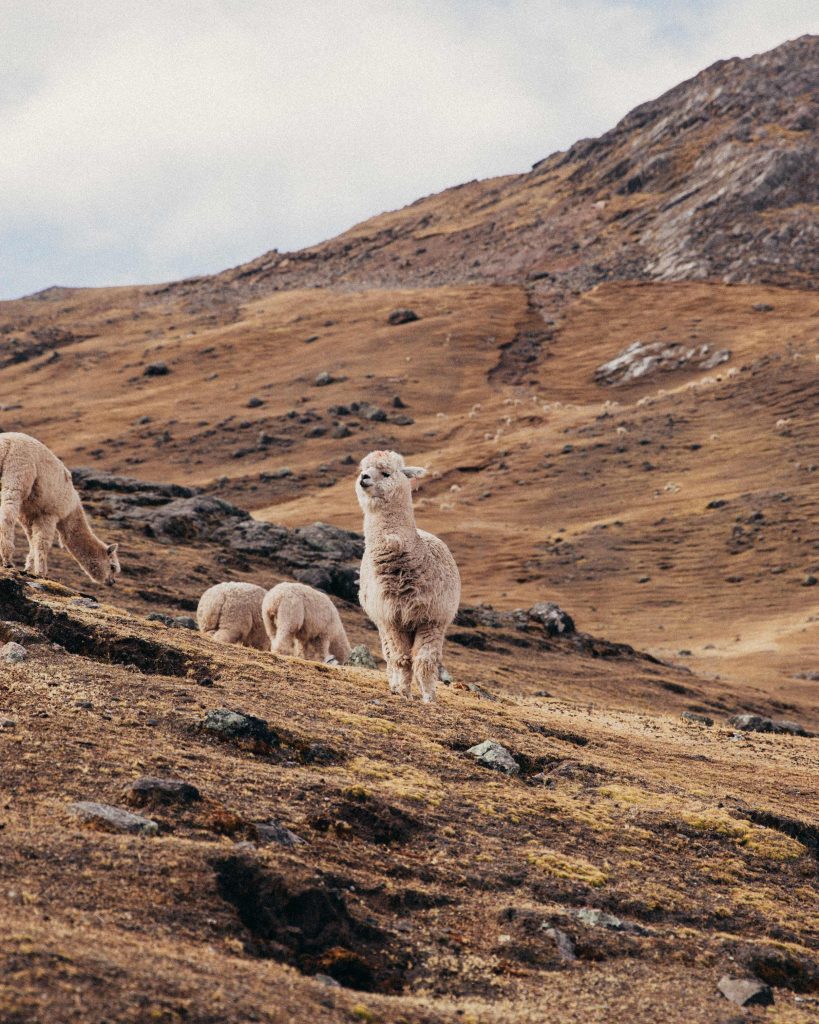
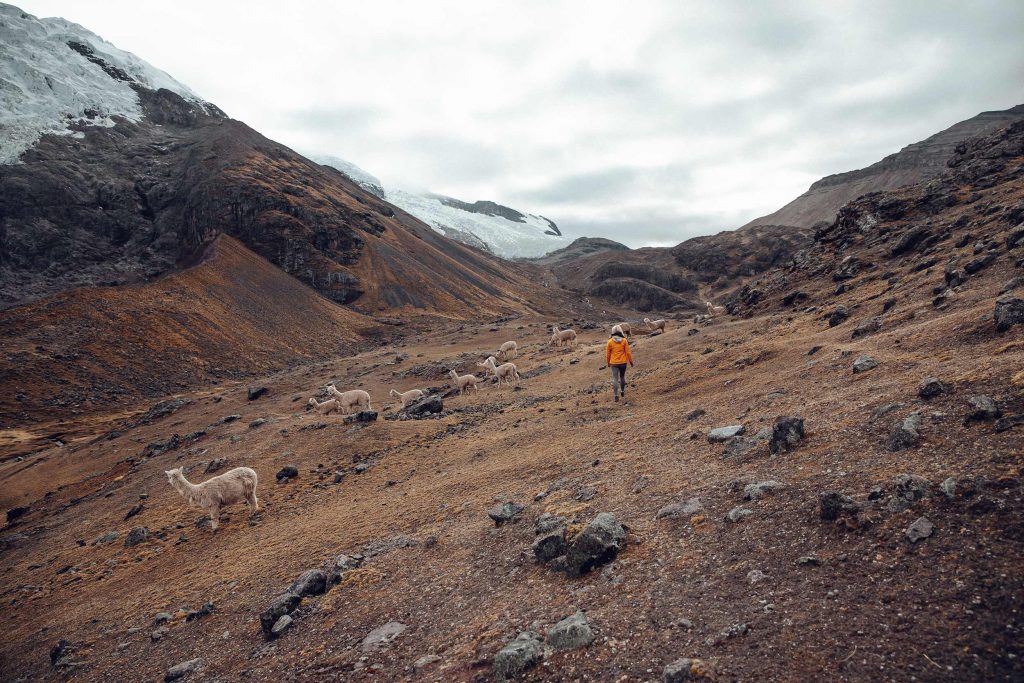
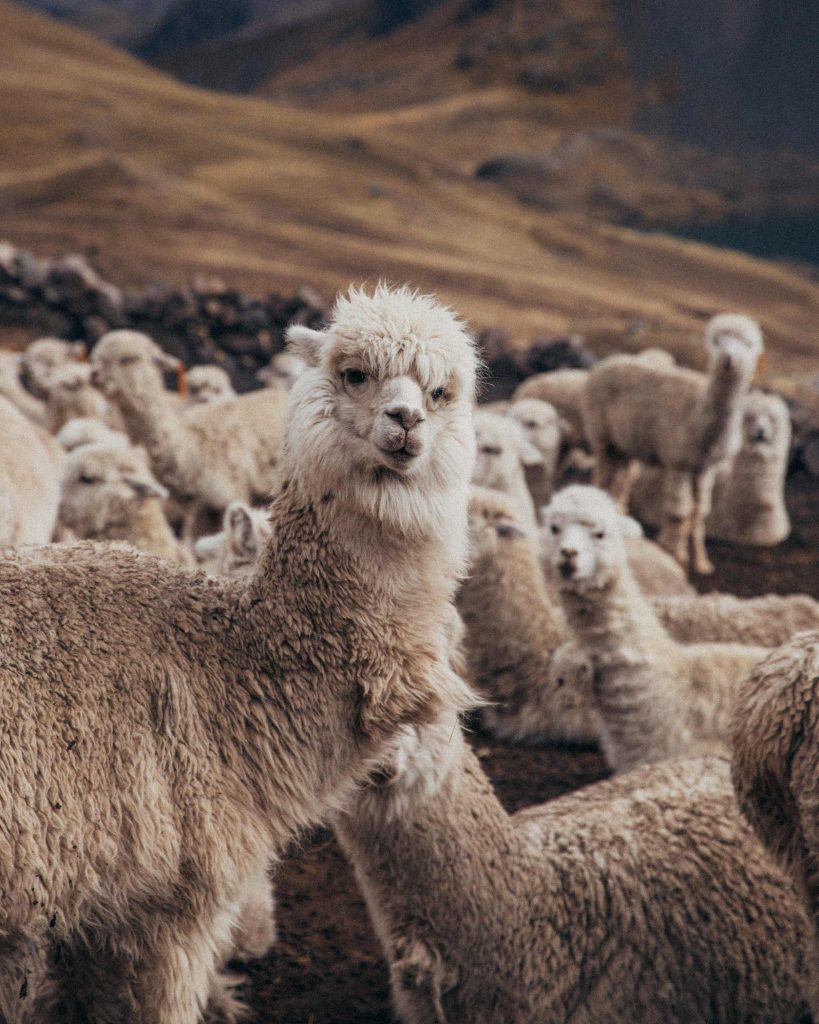
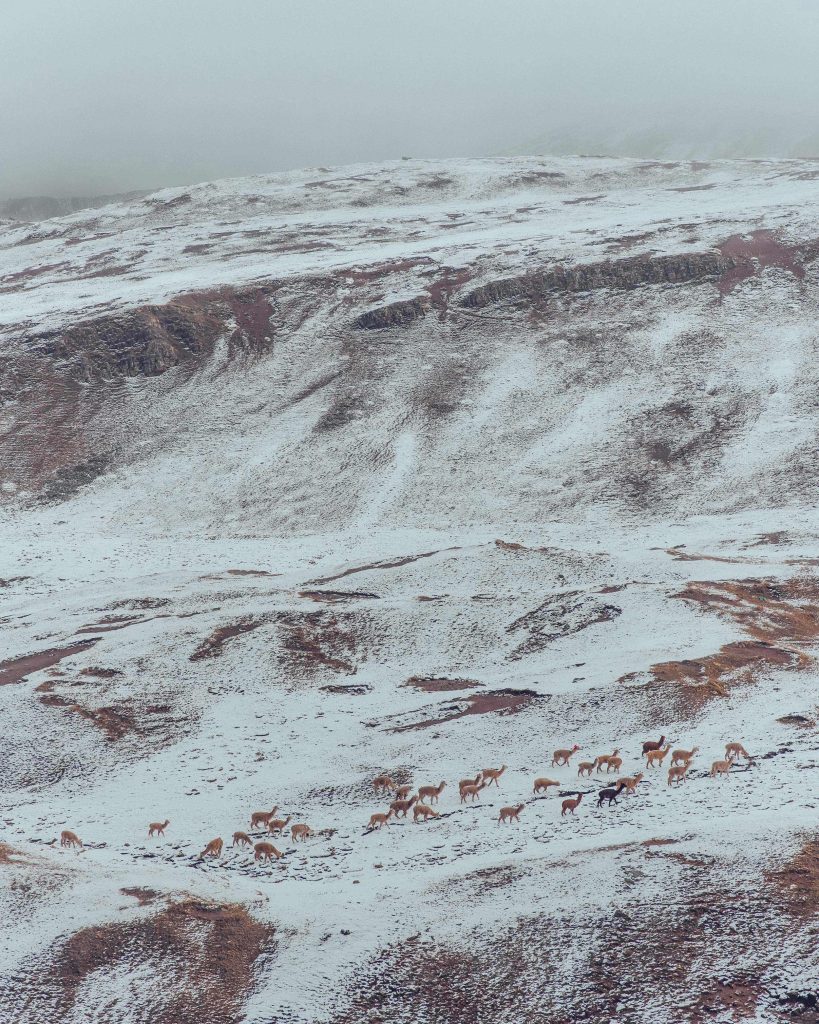
The whole trek has an average altitude of over 4.000m. Most of the more touristic hikes around Cusco and Machu Picchu are mostly about the Incan ruins. This hike is all about snowy mountain peaks, beautiful nature scenery, glaciers, blue mountain lakes, hundreds of alpacas and no other tourists. If you want to see Rainbow Mountains anyway, you should definitely consider to add this stop to your Ausangate Trek route.
If you decide to do the Ausangate Trek you have to arrange with remote nature, off beaten tracks and almost no people but a lot of alpacas. This trek is one of the most challenging ones, since you have to hike several 5.000m passes. But the scenery is one of the most rewarding!
Number of days:
4 days for the whole round trip without Rainbow Mountain – 55 km
5 days for the whole trip including side trip to Rainbow Mountain – 70 km
3 days for the short version Upis to Rainbow Mountains – 30 km – THE ONE WE DID!
Starting Point:
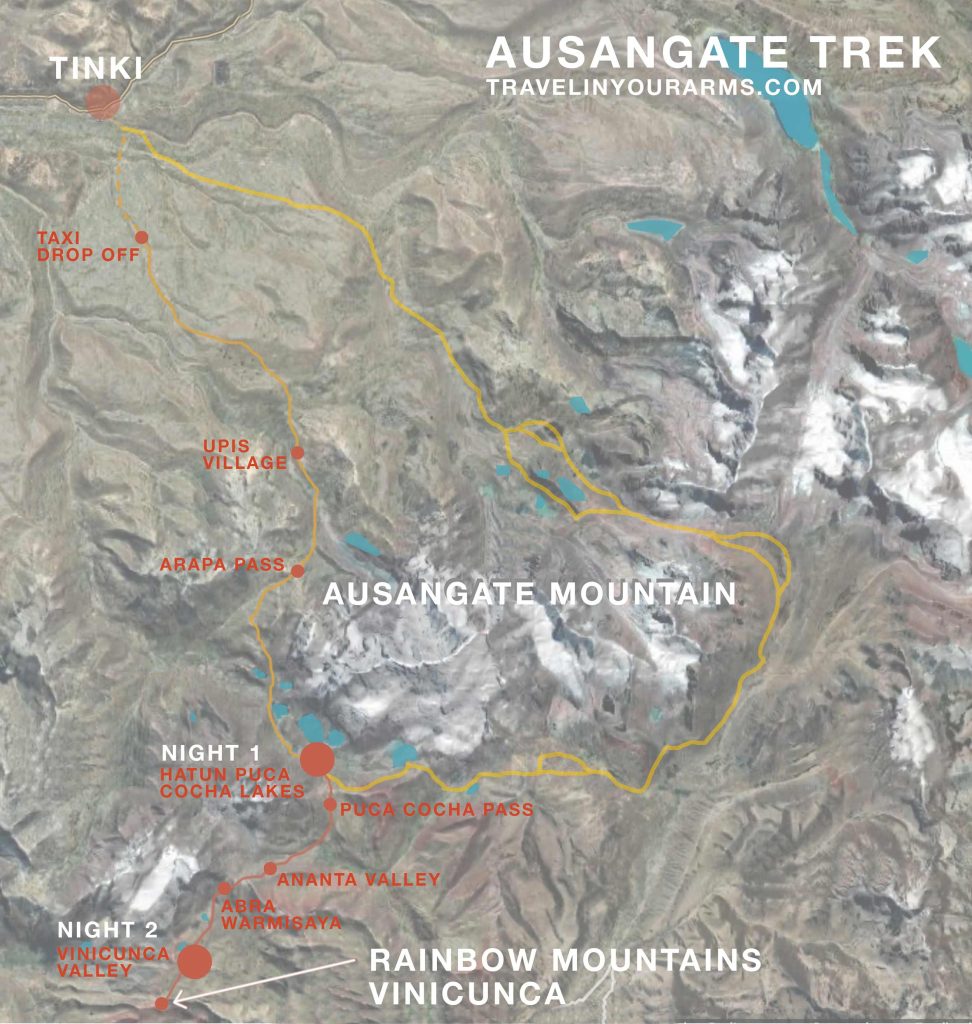
Taxi drop off 7,5km before Upis Village (Get a taxi from Tinki to the drop off, since it is only a unspectacular hike along the street)
Highest Passes:
Arapa Pass 4.850m
Puca Cocha Pass 5.051m
Abra Warmisaya 5.050m
Rainbow Mountains Vinicunca 5.200m
Average altitude over 4.000m
How to get to Tinki
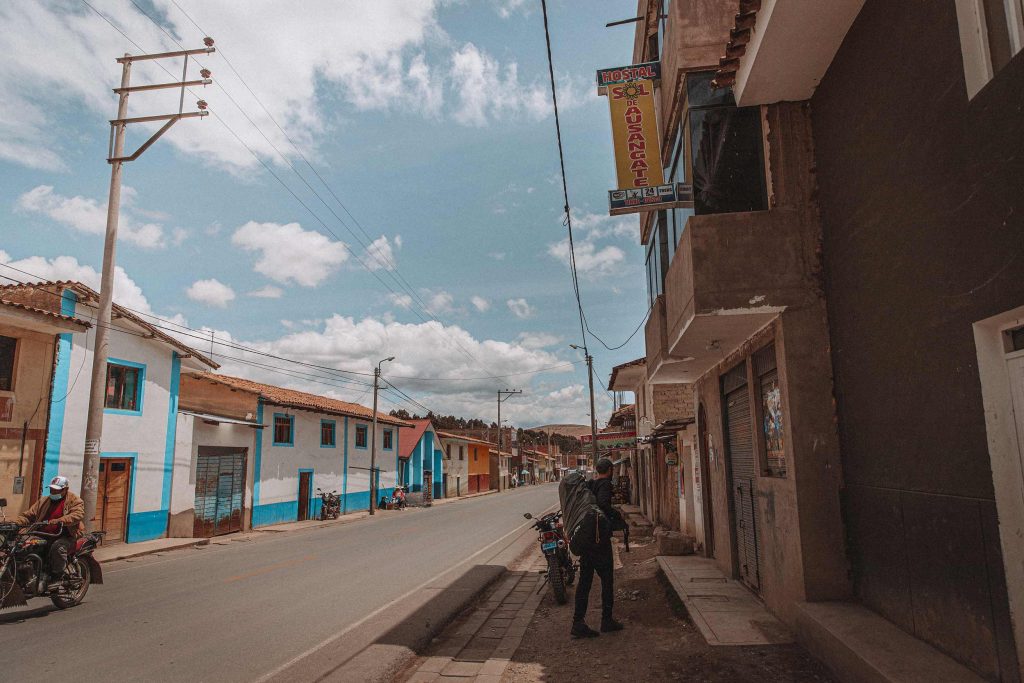
From Cusco we drove around 3 hours with our 2×4 rental car to the small village Tinki, around 100 km east of Cusco. All the roads were bigger paved roads and easy to drive. Maps says 2.5 hours for this distance, but you will need longer on the curved mountain roads up the Urcos Pass on 4.000 meters, since you often can’t overtake the slower trucks in front of you. We arrived in Tinki in the evening and stayed in a hostel called “Hostal sol de Ausangate” to start the hike the next morning independently. The hostel was very simple!, but they helped us with a map and a gas stove.
If you don’t have a rental car, you can take a 3 hour bus ride from Cusco to Tinki. Busses go every 30 minutes and leave from the bus station on Avenida Tomasa Tito Condemayta.
Cusco 3.400m ⟶ Tinki 4.000m (car or bus)
Day One
1. How to get from Tinki to the drop off
Our hostel helped us to organize a local driver, who drove us 30 minutes from Tinki to the drop off 7,5km before the village Upis in the next morning. You can also hike from Tinki to the drop off, but there isn’t much to see, while you walk along the gravel roads.
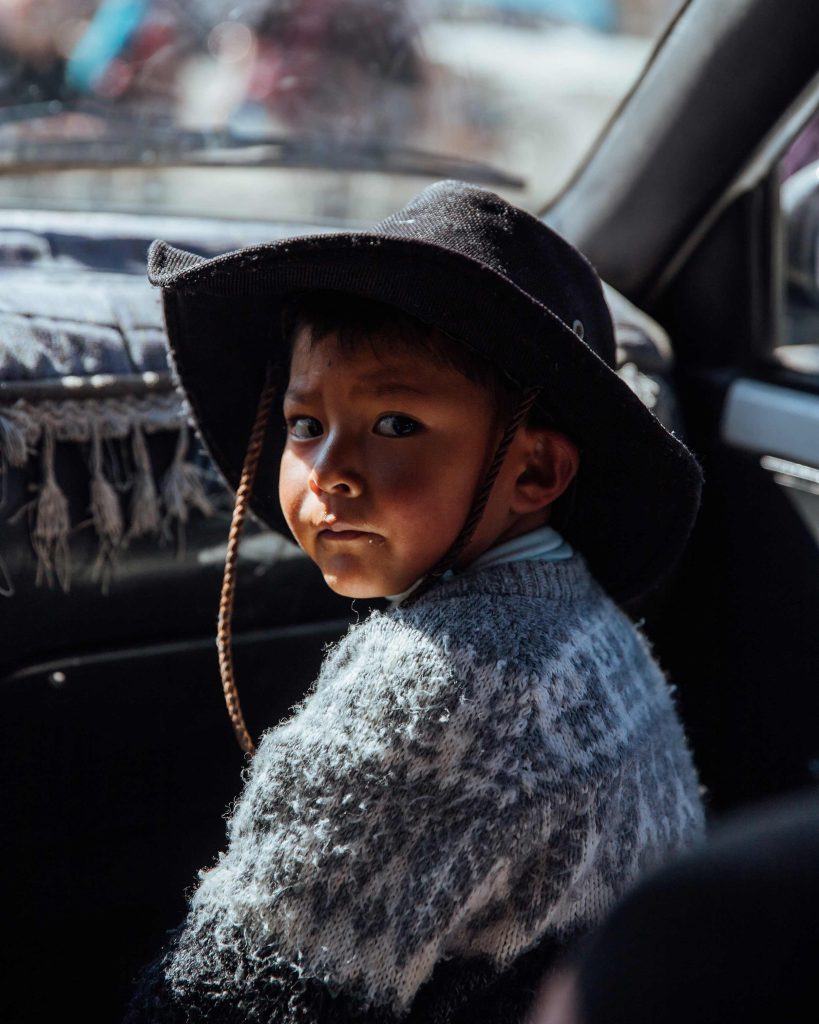
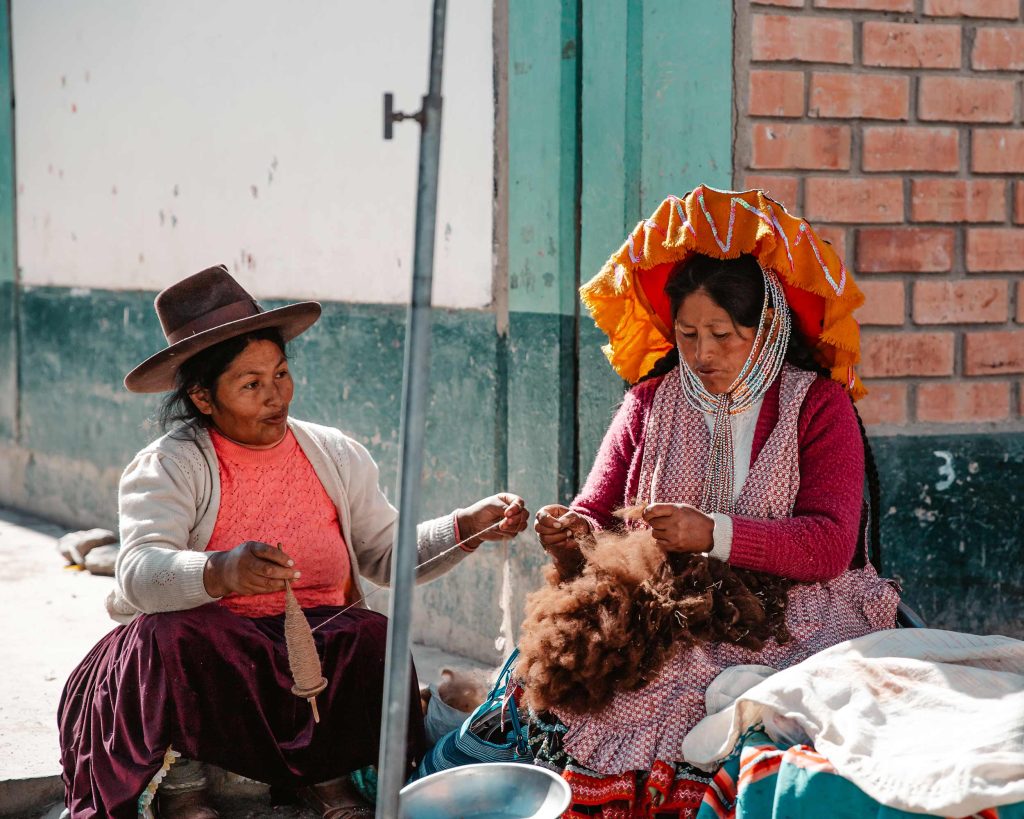
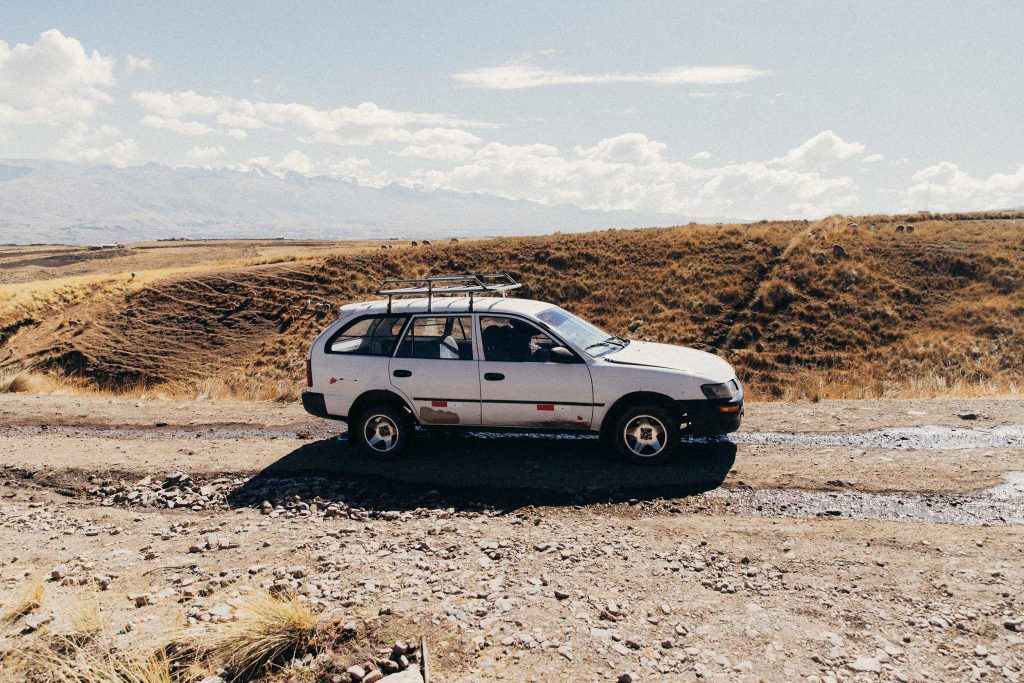
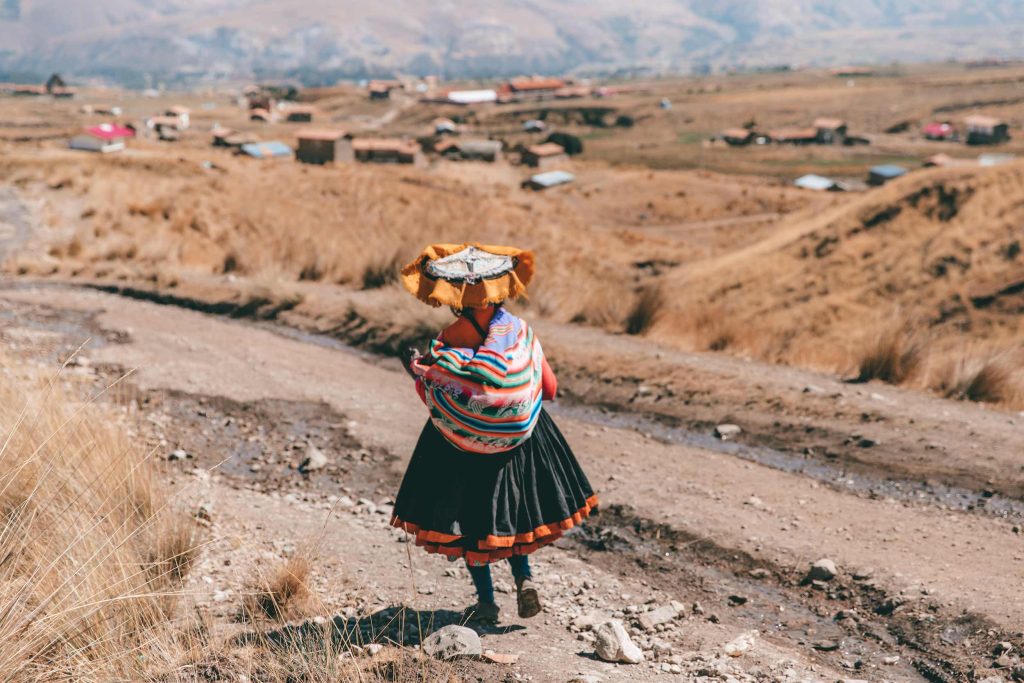
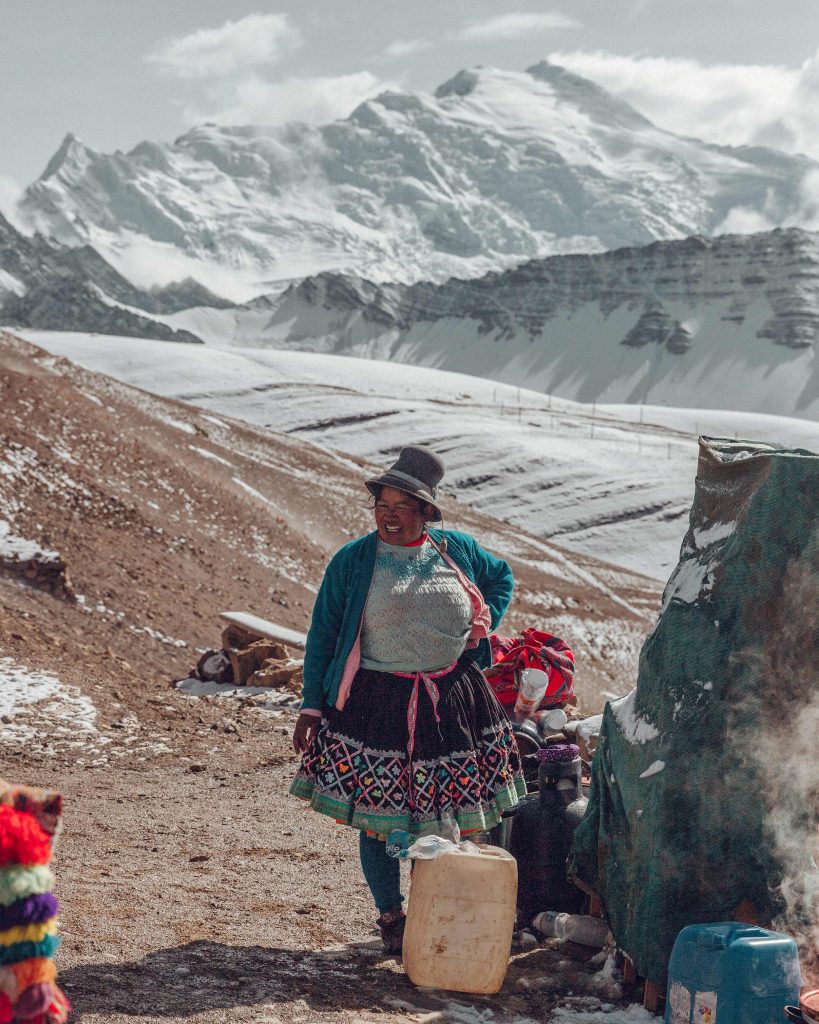
For us the drive from Tinki to the entrance before the village Upis was one of the best experiences. The family father and his cute son sat in the front of a really old white car with lots of scratches. Both, father and son, wore matching hats and typical Peruvian sweaters with alpacas. All the time the father was so cute and patient with his son, teaching him how to pronounce “alpaca”. The cute little boy always said “paca” when he saw one :). Just too cute. We saw a lot of local people dressed in the traditional Quechua clothes driving through the village of Tinki. Our driver simply knew everyone, said hello to everyone, therefore we felt welcome all the time.
The local driver can’t drive you to Upis campground, but will drop you off 7,5km before the village Upis in front of a gate. Arriving at the drop off you will see a little house with a chain as a barrier. Here a local woman wants to get 10 Soles per Person as the entrance fee for the Ausangate Trek. The different land parts around the Ausangate Trek belong to different local families, therefore you have to give them some cash if you want to cross their land or camp there. Keep in mind that they only accept cash, so take along around 100 Soles! If I remember right, we payed the entrance fee, one campground and one time for passing land, in total around 40 soles (9€ or 10 USD).
Tinki 4.000m ⟶ Drop of 7,5km before Upis 4.100m (taxi)
2. The beginning of the Ausangate Trek: Hike from the drop off to Upis
At the drop off we payed the entrance fee and passed the gate. Suddenly we were surrounded only by nature. One Austrian guy passed us on our first 10 minutes. He told us, he just had snow storm and thunderstorm several days on the Ausangate Trek. In the morning it was always dry, but around 2pm it got wet. We looked at our phone, 9 am, should we had to start earlier? Now it was too late…
We thought there is only a really small chance for rainfall in September (the dry season), we looked down to our middle high hiking boots, remembering that we didn’t have any rain trousers, only a rain jacket and a second hiking pants and at least rain covers for our backpacks (although they were a little too small). But now there was no going back. A little frightened we told ourselves that in case of snow and thunder storm we would set our tent and wait until it’s over. We luckily packed more food.
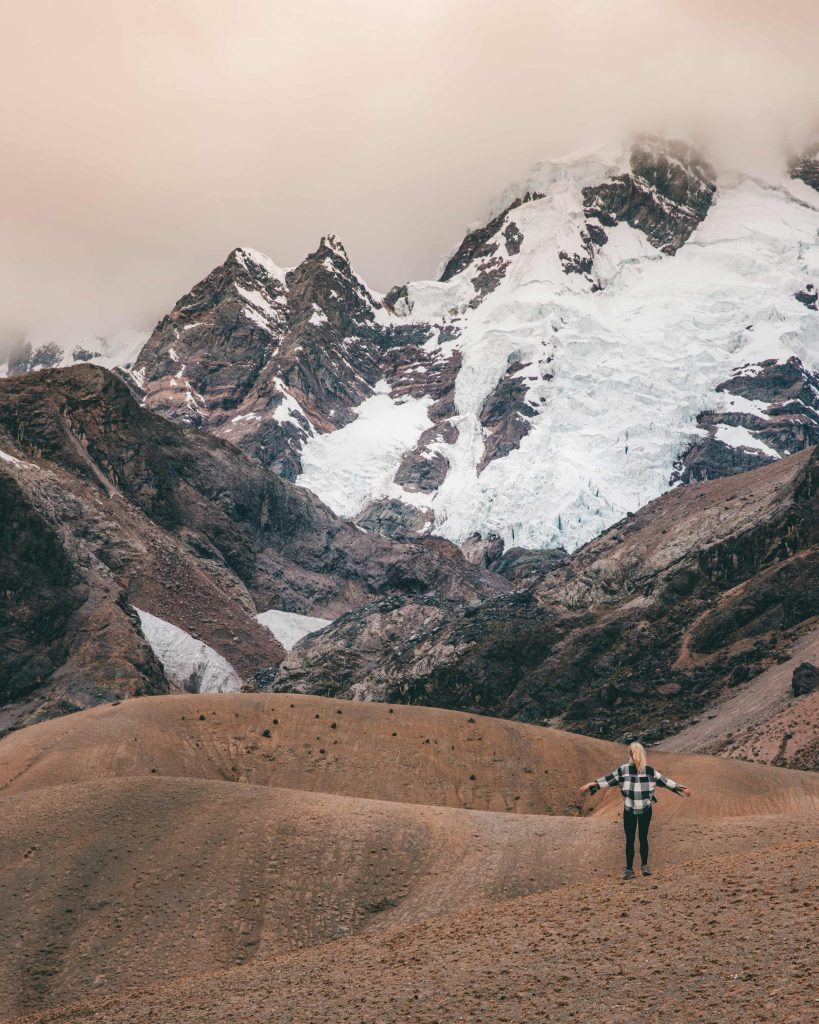
When we arrived at the little village Upis and the campsite after 7,5km, we got our first snack. We found a lot of alpacas there. The view of the snowy Ausangate Mountain is breathtaking all the time, we couldn’t believe it. The path is quite clear and easy to follow at this section. They told us that there are free Hot Springs in Upis, but we didn’t see them.
Taxi drop off 4.100m ⟶ Upis (campground, hot springs) 4.300m – 7,5 km
3. Arapa Pass
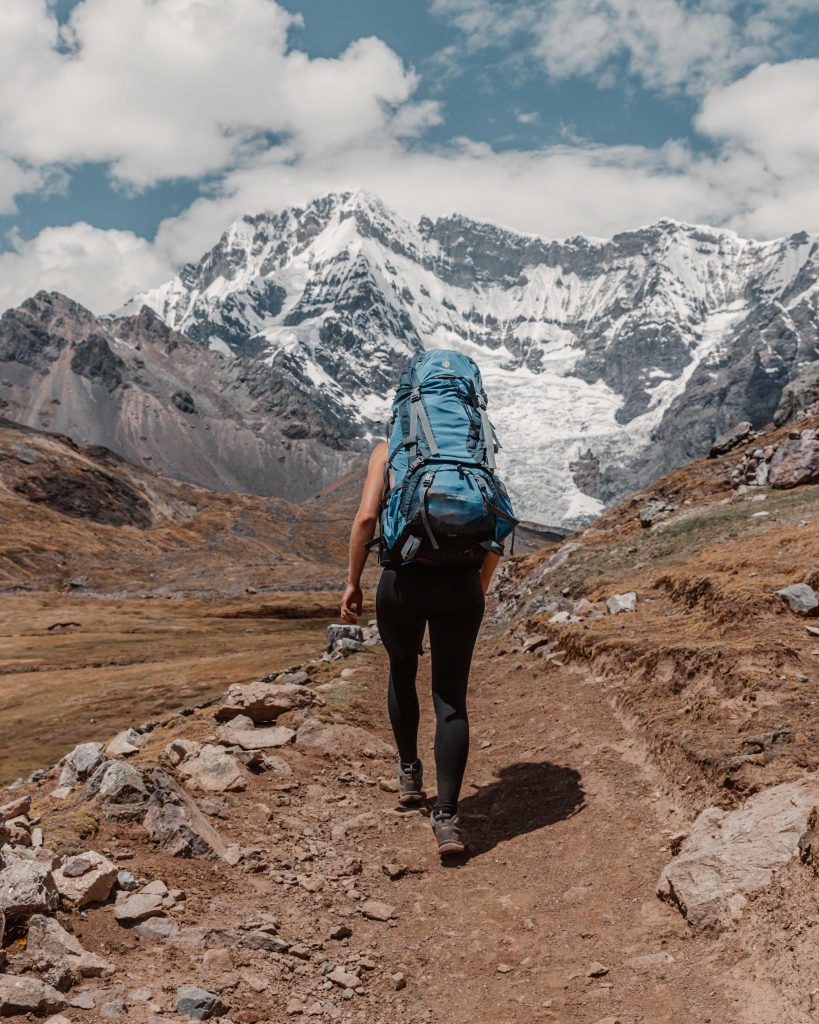
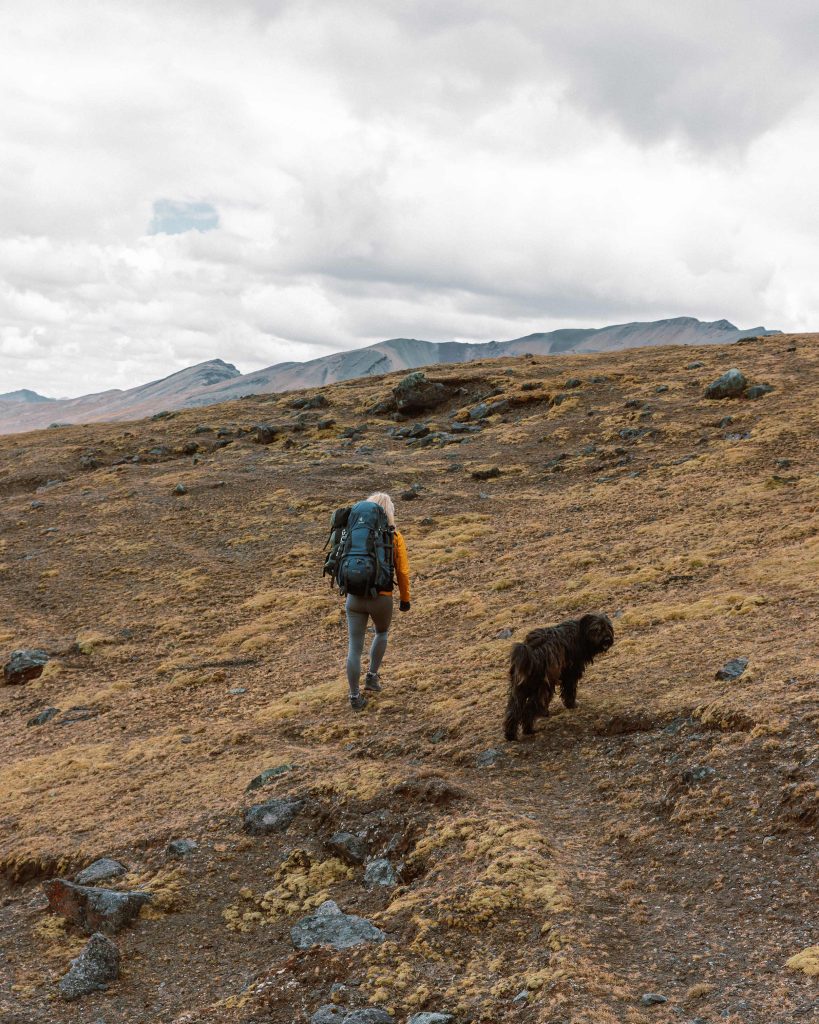
After this first simple section of the trek, we had to hike up the Arapa Pass, and yes this was extremely exhausting in this altitude with this huge backpack. We took it slow and luckily, thanks to our acclimatization before, we managed to stand the altitude pretty well. From Upis we reached the Arapa Pass in 2 hours. You can strongly feel the air getting thinner at 4.850m. However, we saw big dark clouds behind us, we even heard a quiet thunder in the distance. Oh no, 11 am and already rain? Was the Austrian man right? Didn’t he worn us? Didn’t he say rain around 2pm?
Luckily only a few small snowflakes came down for a few minutes and then the thunderstorm rolled past in another direction. We guess we were so lucky, because we didn’t know back then how much distance we still had to master. However the view at the Arapa Pass is incredible!
Upis Village (campground, hot springs) 4.300m ⟶ Arapa Pass 4.850m – 3,5 km
4. Arriving at the first lake
From the top of the Arapa Pass we slight down about 40 minutes until we reached the first lake. There was a nice viewpoint directly at the lake with a wooden pavilion. After that we had to cross a river (one higher lake flowing into one lower lake) to stay on the official trail. Since the river was high filled with water we had to walk up the hill a few meters to cross the river at a flatter part, then we got back on the official track.
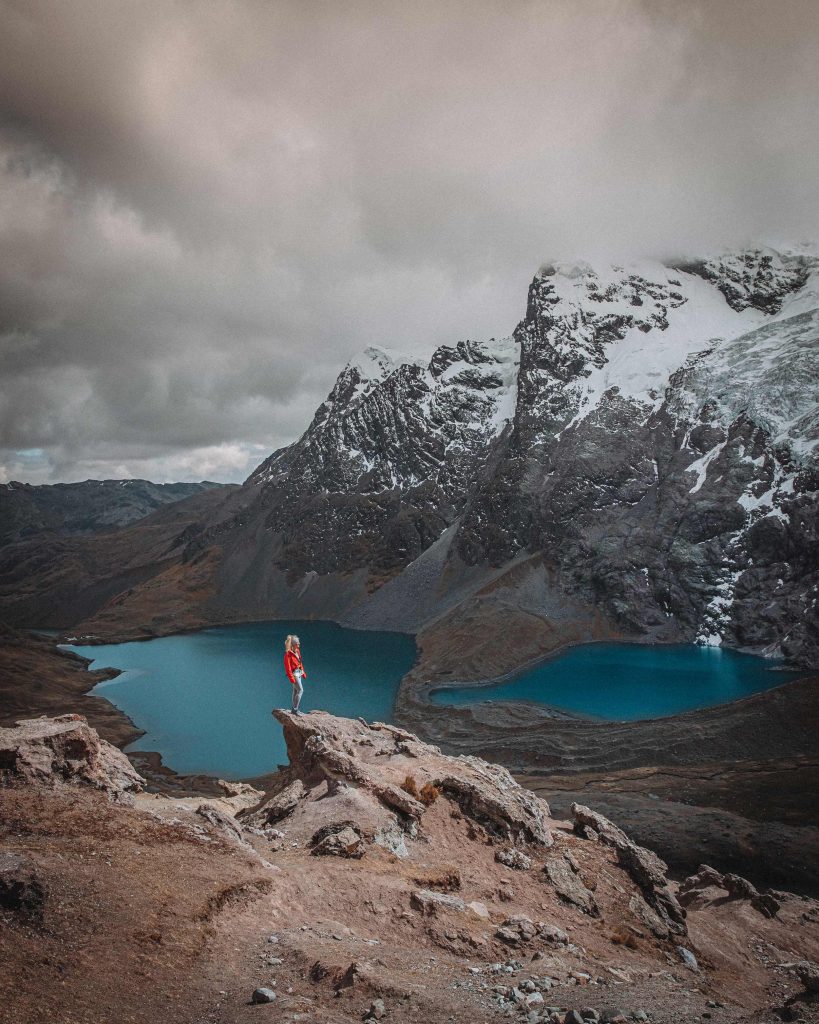
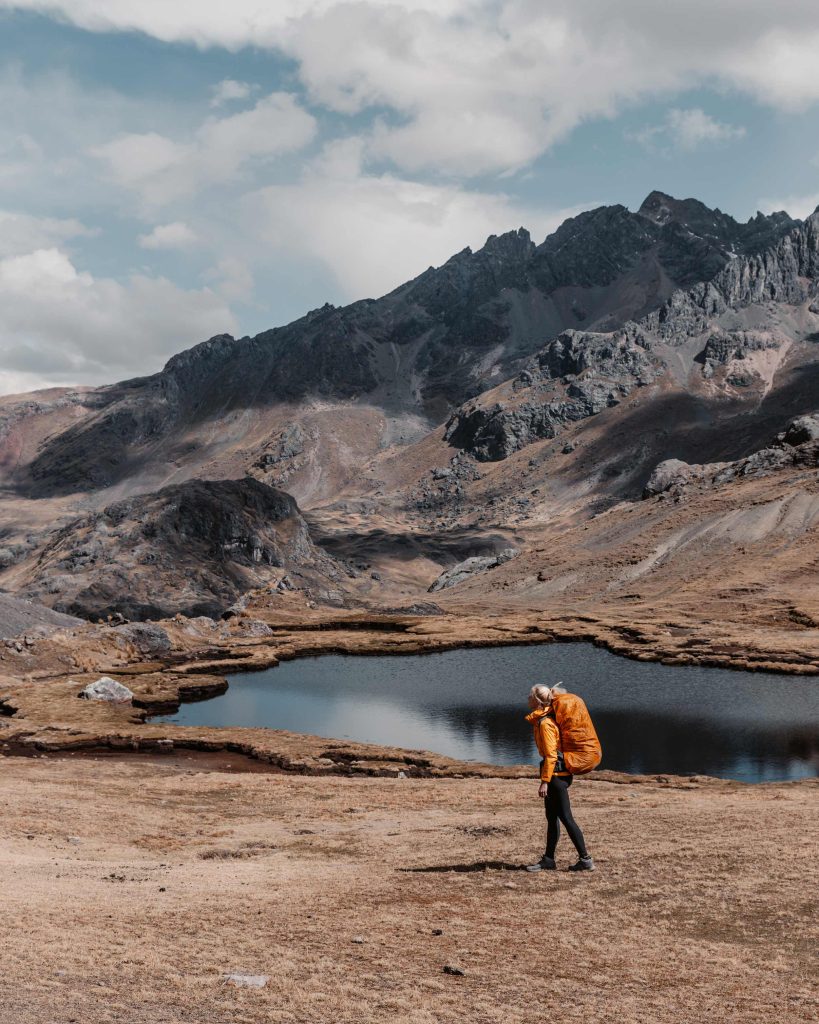
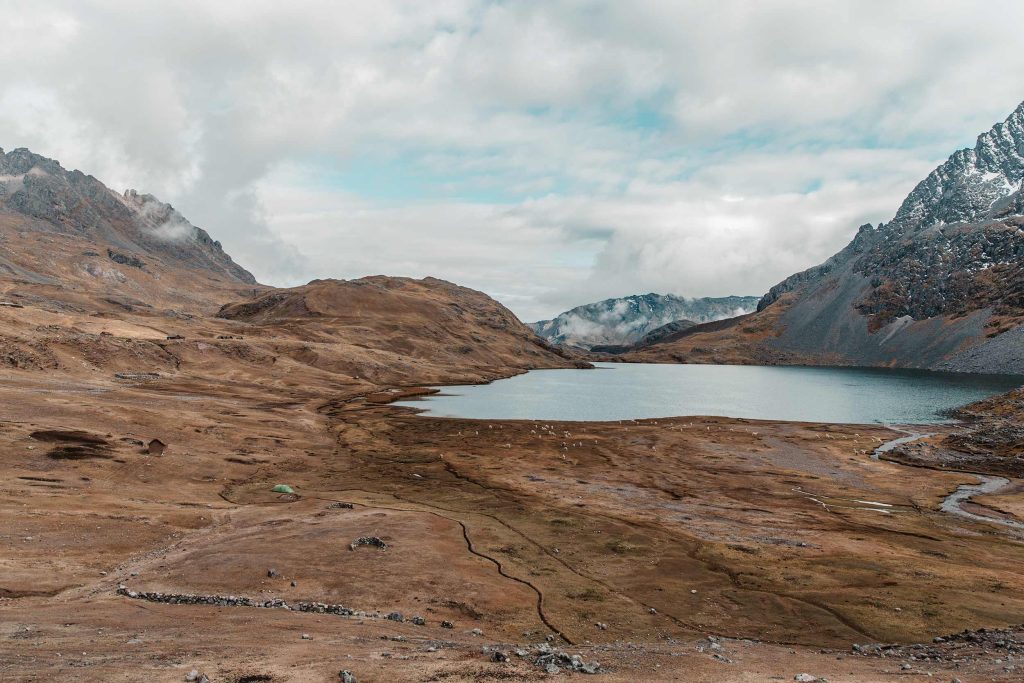
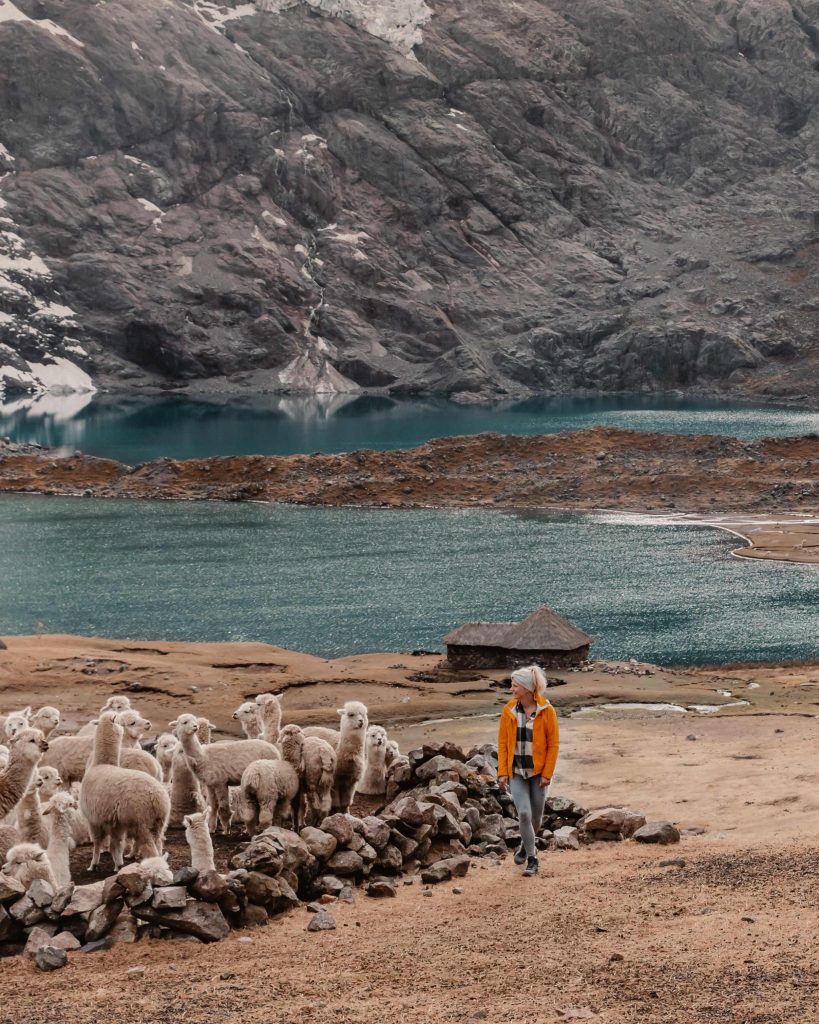
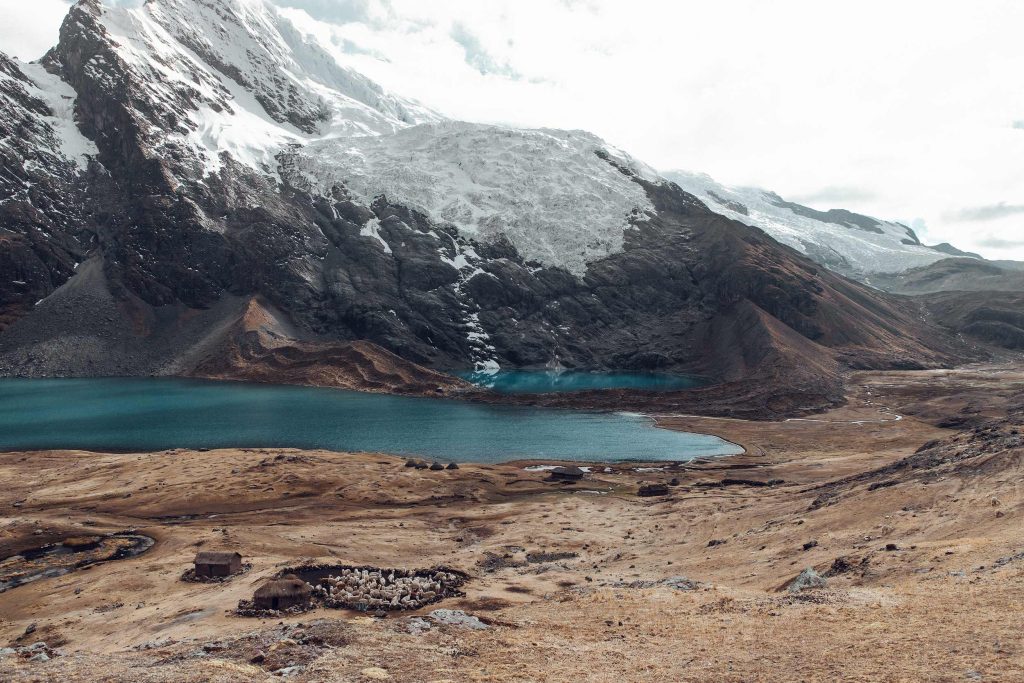
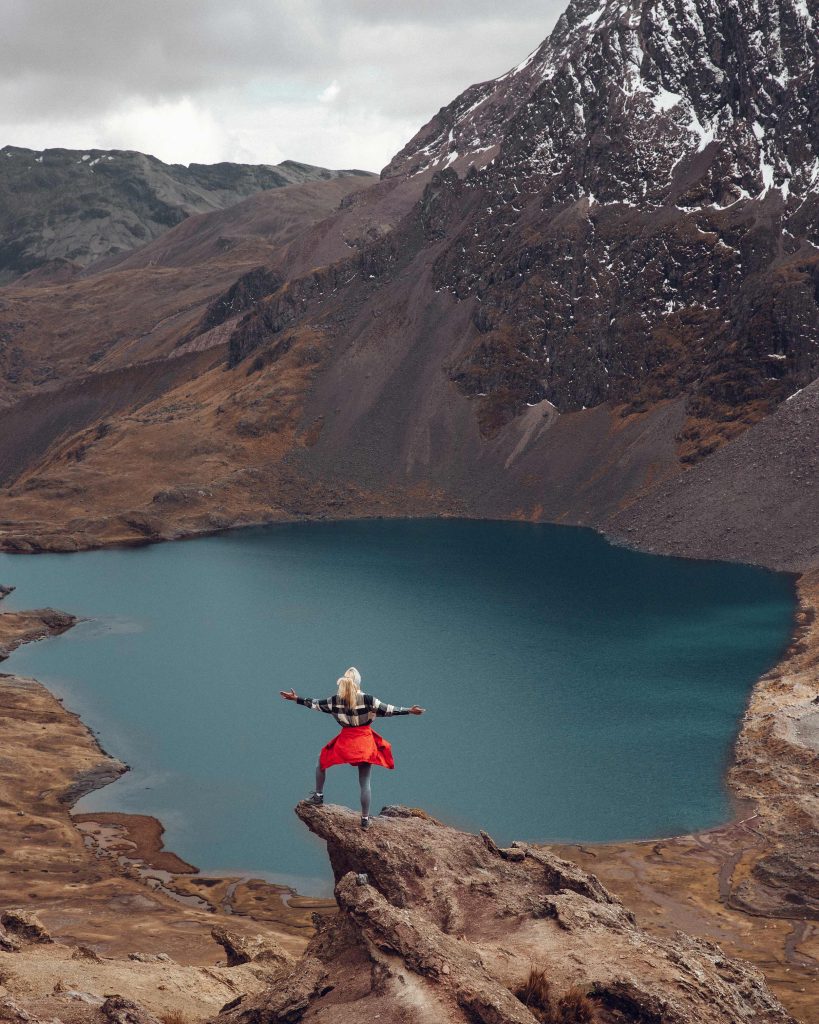
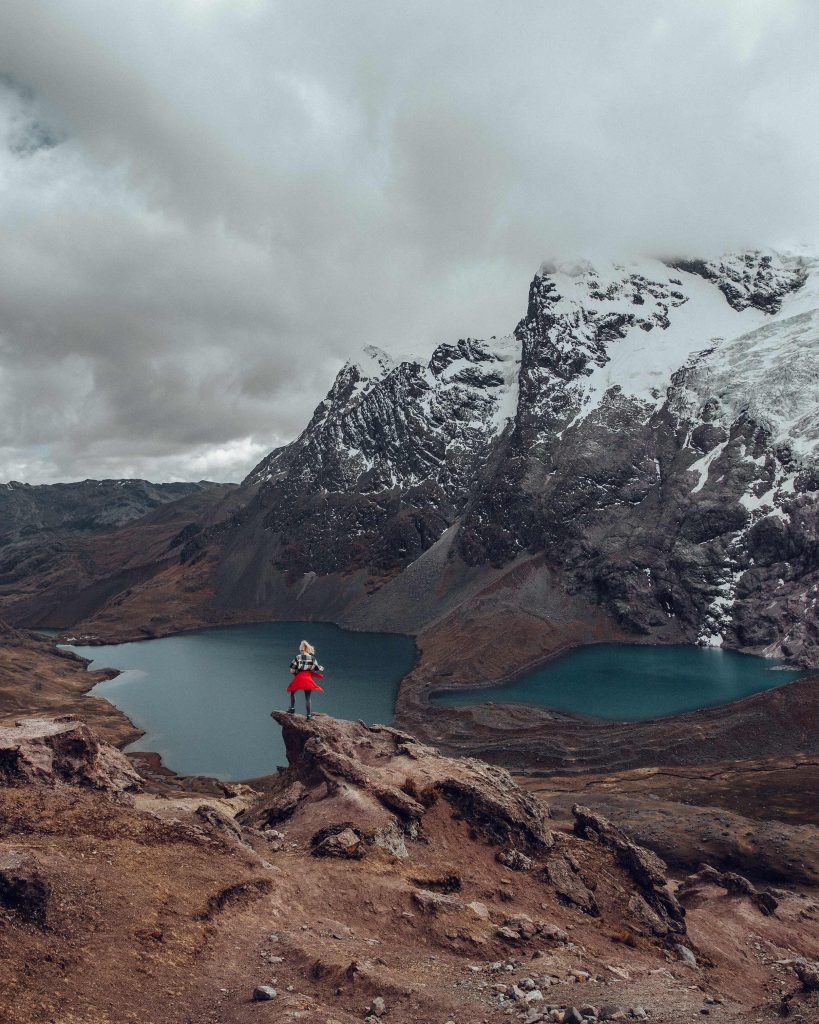
Arriving at the first lake after the Arapa Pass, we thought we were close to the Puca Cocha campsite (spoken Puqa Qocha) with the famous picture of a rock in front of two lakes. But no, it was still a long long very exhausting way along several lakes until we reached the campsite. One lake followed the other, all in different shapes and colors. The water of the first glacier lake falls through a waterfall into the next lake, this lake falls into the next one and so on. We needed more and more short breaks in the last hours, our strength got less after hours of hiking.
The official easier Ausangate Trek but also longer way goes a little up on the right side of the mountain, but there was also a shorter nice looking beaten path on bigger rocks on the left side of the lake. This trail leads directly along the lakeshore, in the end you have to hike some meters up. However, both paths are beautiful, we took the shorter one, because we weren’t in the mood for detours anymore :D.
Arapa Pass 4.850m ⟶ Hatun Puca Chocha Iconic Lake (Campsite) 4.600m – 7,5 km
5. Our first campsite at Hatun Puca Cocha Iconic Lakes
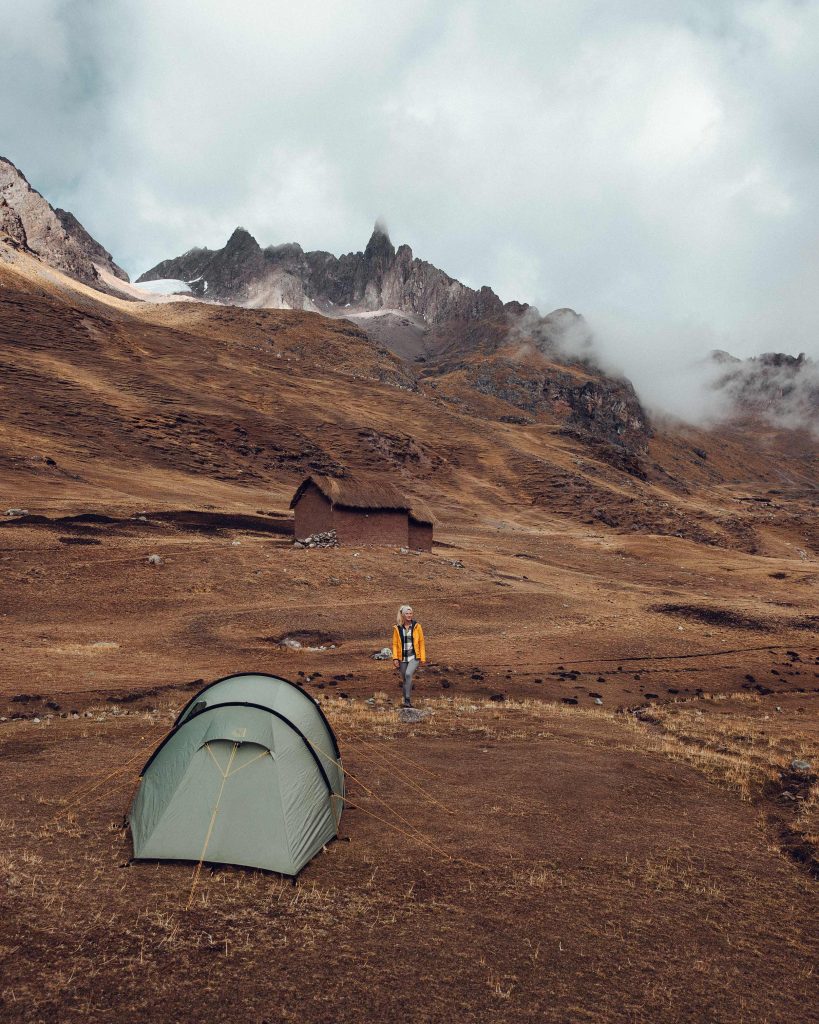
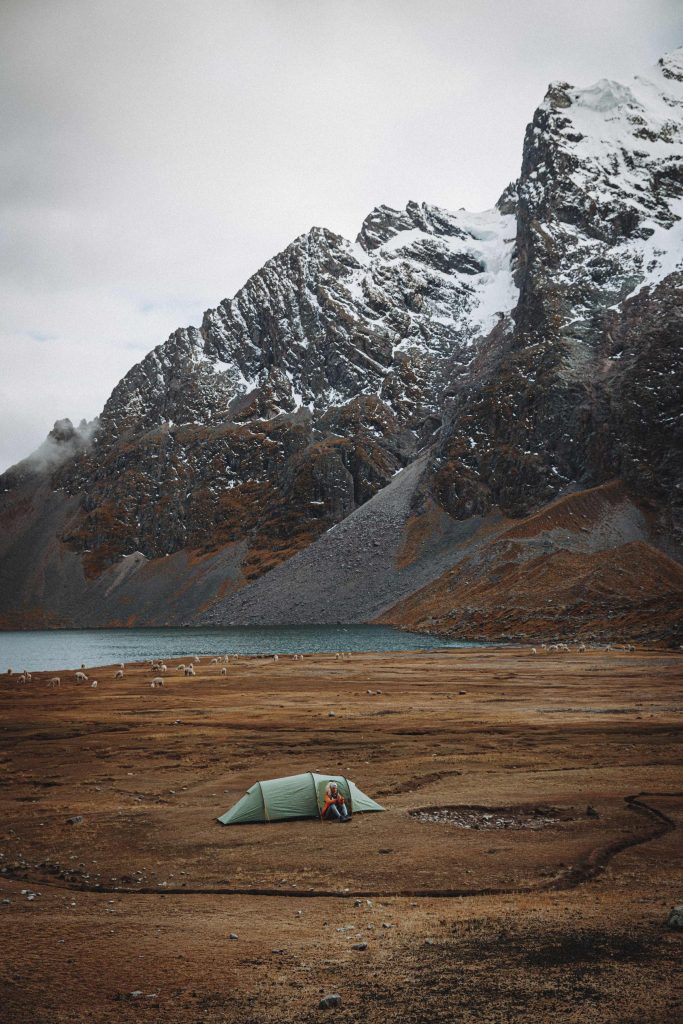
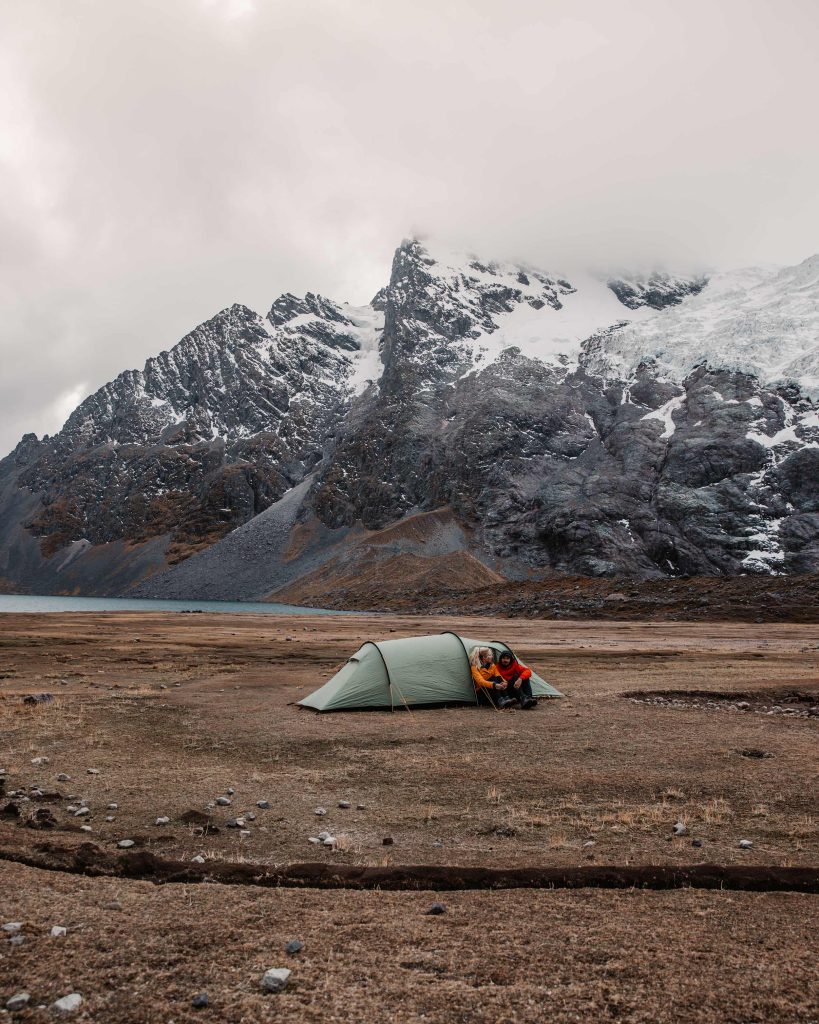
When we finally arrived at Hatun Puca Cocha campsite after a little more than 6 hours hiking day, we set up our tent quickly and couldn’t do more then eating a little bit, filter some water from the lake and sleep. We were so exhausted. Until we arrived at the lakes, the Austrian man from the beginning was the last tourist we saw. At the campsite we surprisingly saw another couple with a whole group of tour guides, locals who prepared their tent and meals and a lot of horses carrying their luggage. We were very happy that we were independent carrying our own gear. But we somehow felt save that there are other people around, in case we needed help.
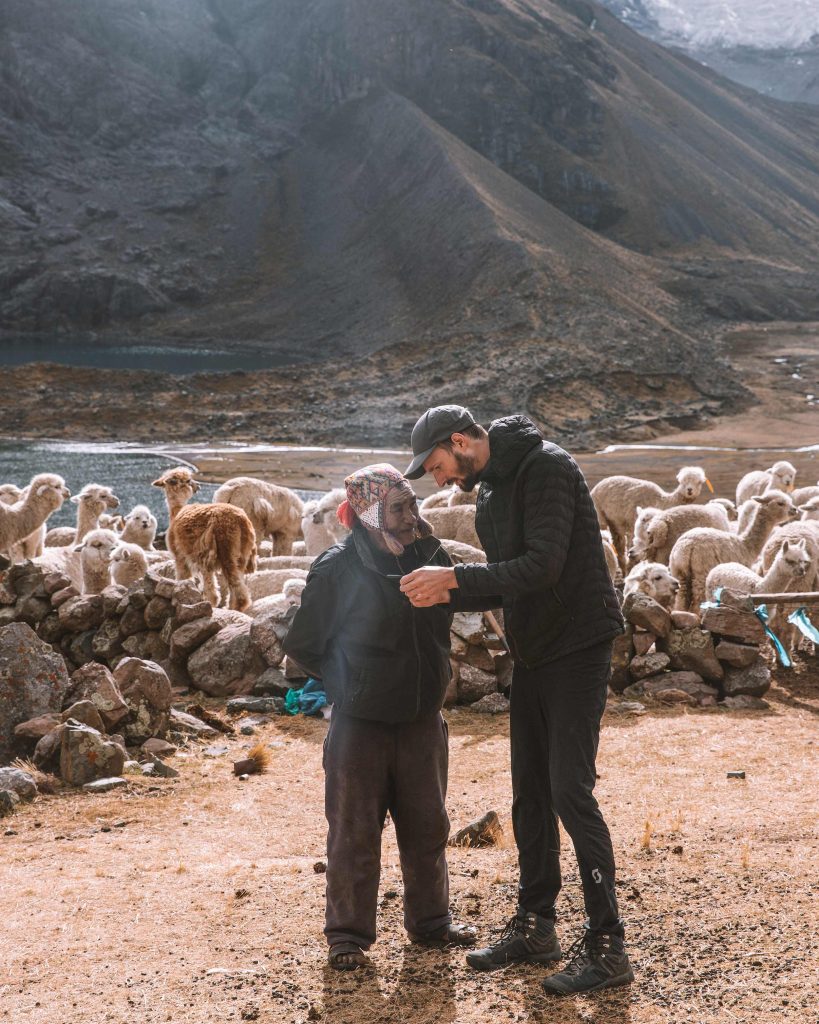
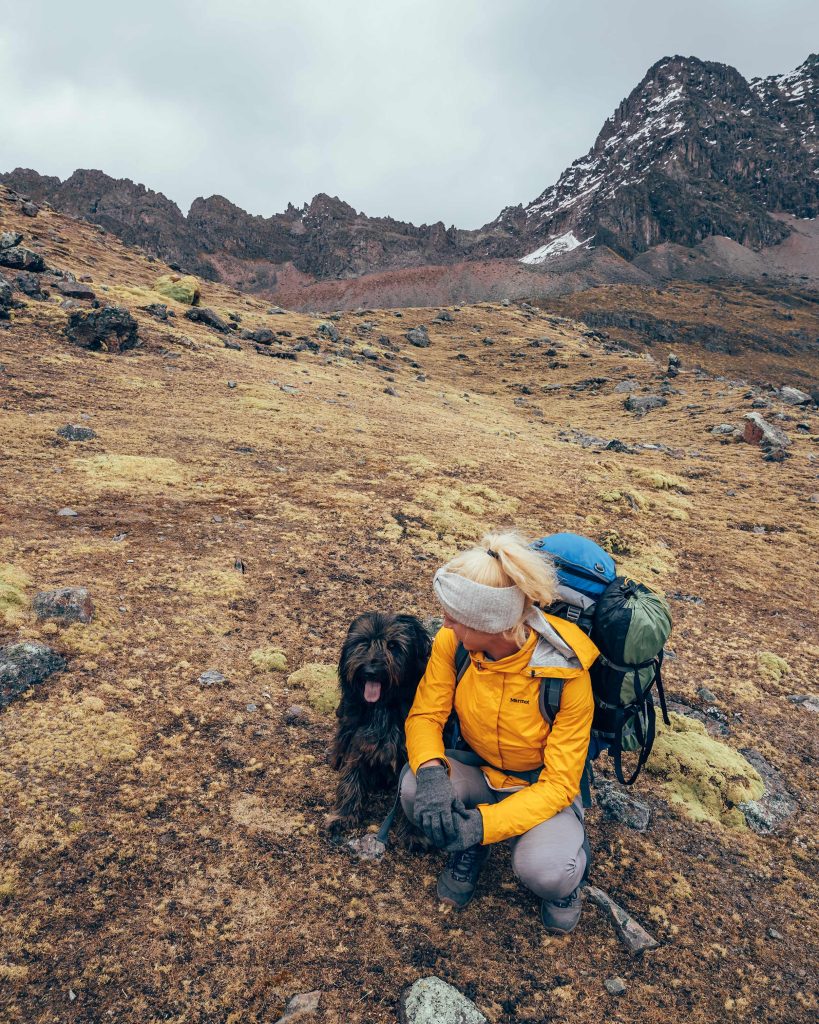
Around the lake, we saw many alpacas, but they were very shy. There was one local guy with a dog and some alpacas who wanted to have 10 soles from us. The dog visited us at our tent several times. In the night we heard a loud crack followed by a dull impact. It was ice breaking down from the glacier. Never expected this to be so loud!
Day 2
6. The famous viewpoint of Hatun Puca Cocha Iconic Lakes
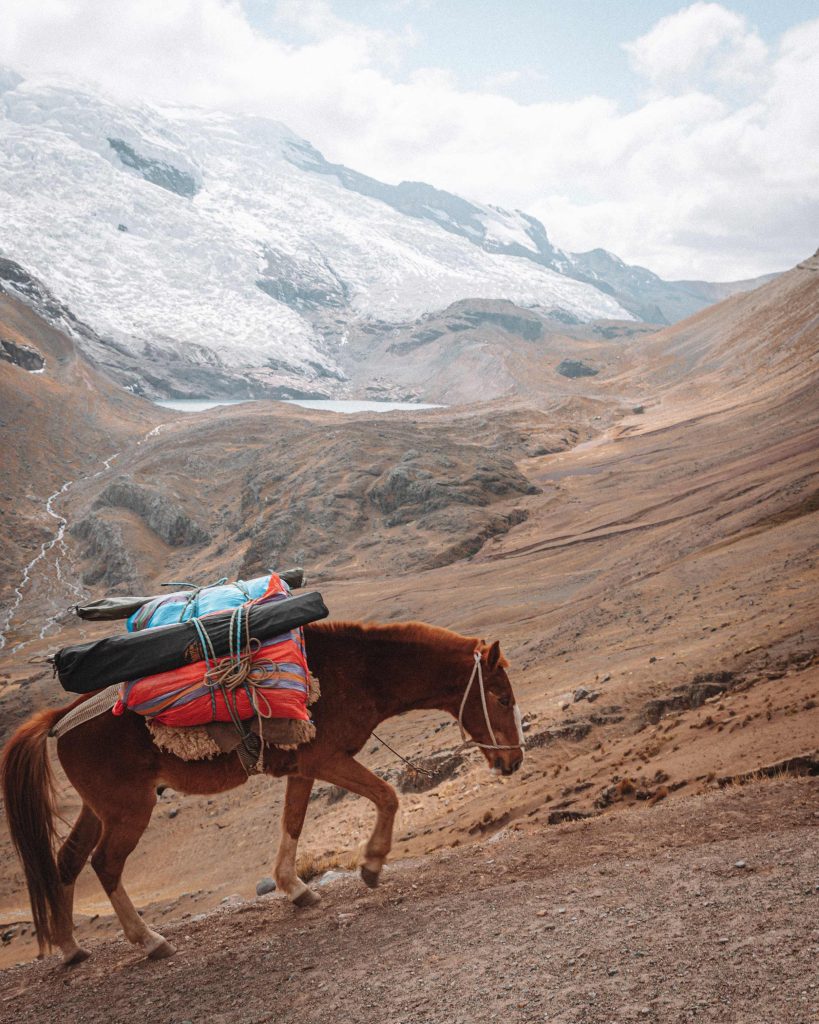
Just a few meters up the hill from the campsite, the famous viewpoint is located directly on the official Ausangate Trek up the Puca Cocha Pass. From there you will have the best view over the lakes in front of the glacier. There is a big rock in front of the two lakes which is perfect for some pictures! The photographer just has to walk a few meters up the hill and it looks like a drone shot. The horse belonged to the other group who started to hike up the pass with us in the next morning.
7. Two more passes
After sleeping at the Iconic Hatun Puca Cocha Lakes you have to pull through 2 more passes on your second hiking day. The standard round trip of Ausangate Trek without Rainbow Mountains follows another trail East along the lakes to Laguna Ausangatechocha. But we wanted to go to Rainbow Mountains, so we had to take the trail South up the hill. The first Puca Cocha Pass, the hill directly behind the campsite, was pretty easy, since you got a nice view of the lakes and the glacier all the time.
Hatun Puca Cocha Iconic Lakes 4.600m ⟶ Puca Cocha Pass (El Abra Puca) 5.051m – 2km
From Puca Cocha Pass you start seeing colorful red mountains in the other direction. You might also see some very quick mountain rabbits, Bizcachas. We then hiked down to the Ananta Valley, where you will find the Anantapata Lodge and another possibility to camp. We had to pay again 10 soles to pass the area on the hiking trail.
Puca Cocha Pass (El Abra Puca) 5.051m ⟶ Ananta Valley (Anantapata Lodge) 4.400m – 3,5km
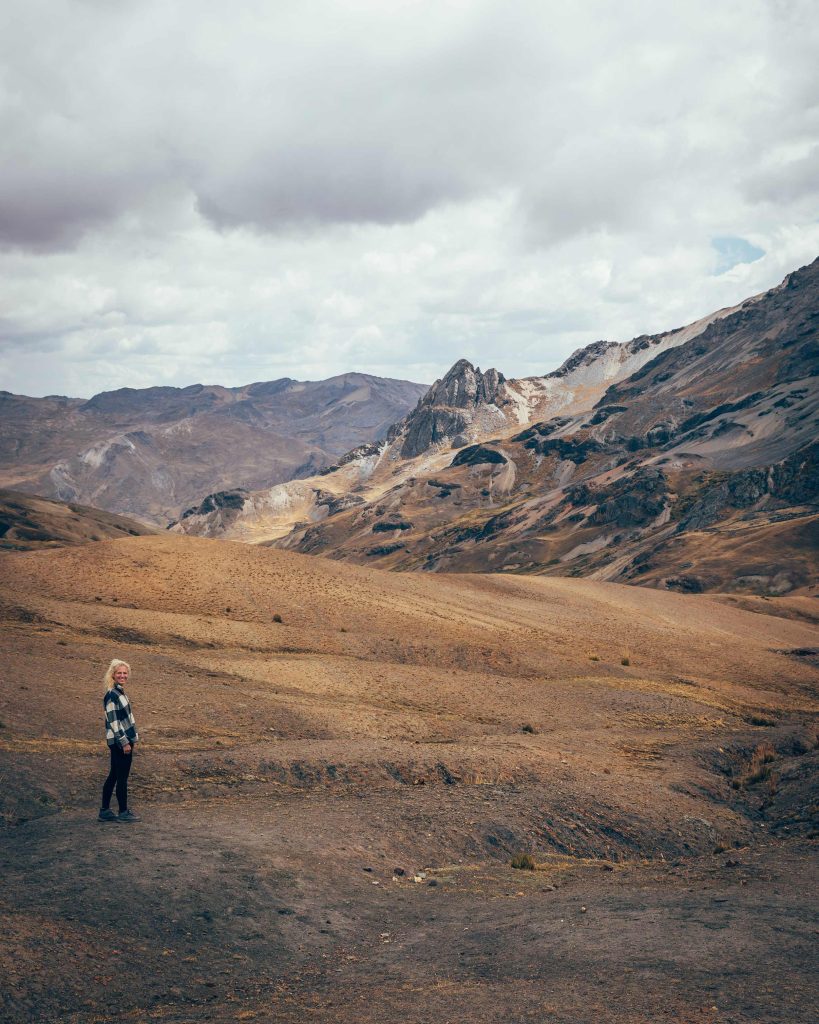
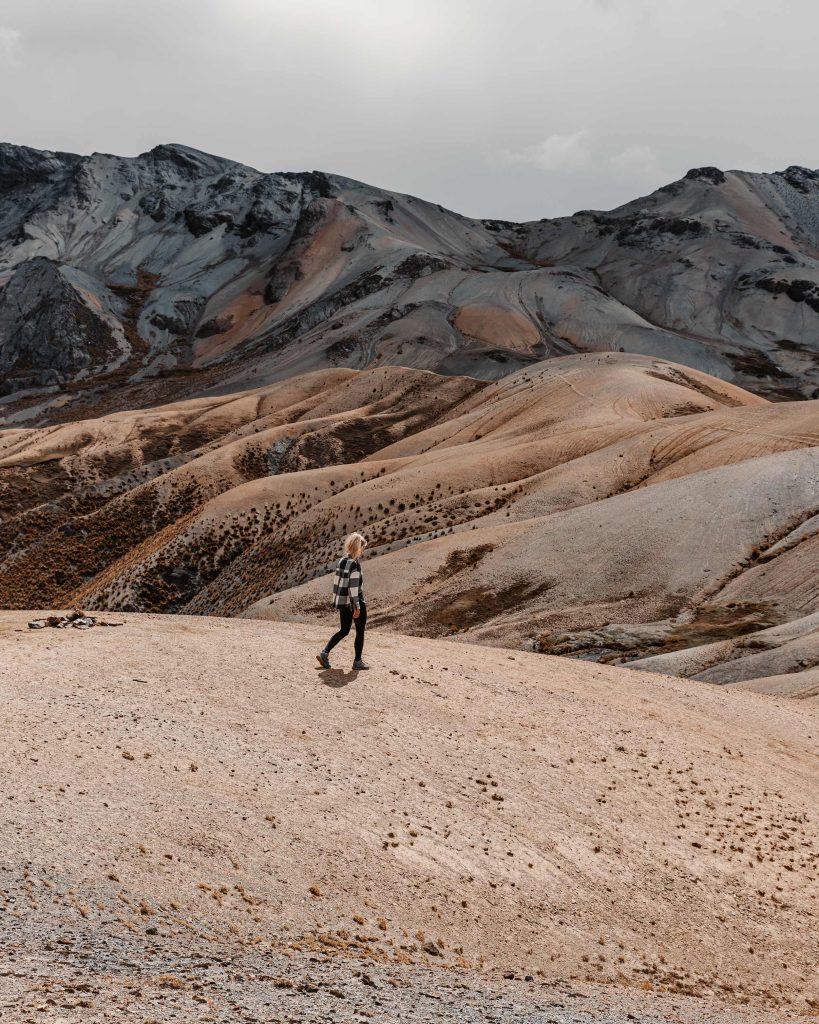
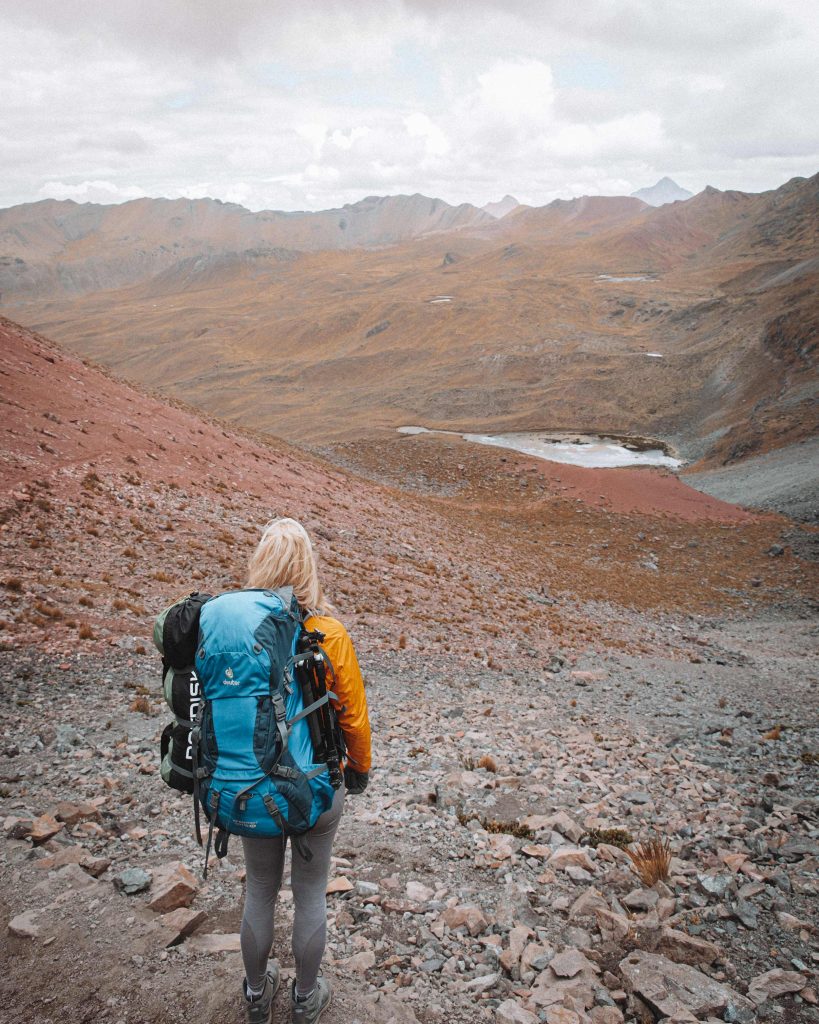
From Anantapata Valley we hiked up the second pass Abra Warmisaya. This one felt longer than the first pass. But the surrounding red mountains looked incredible, it felt like being on Mars.
Ananta Valley (Anantapata Lodge) 4.400m ⟶ Abra Warmisaya (Pitumarca Pass) 5.050m – 1,6km
8. Campsite before Rainbow Mountains
From Ananta Pass you have to hike 200 meters down to the Vinicunca Valley, the valley of the Rainbow Mountains. After a few curves you can already see the Rainbow Mountains Vinicunca! After passing a small pond you will get to another bigger lake with the camping area.
The last two hiking days of steep ascends and descends were quite tough, but we did it! We were so close to THE Rainbow Mountains. Since we started our hiking day very early, we arrived around 2pm at the campsite. The rest of the day we just relaxed and cooked some food on our stove. We again filtered water from the lake next to he campground.
Abra Warmisaya (Pitumarca Pass) 5.050m ⟶ Vinicunca Valley (Yanacocha Lagoon) Campsite 4.400m – 2 km
Day 3
9. Rainbow Mountain for sunrise – Montaña de Colores
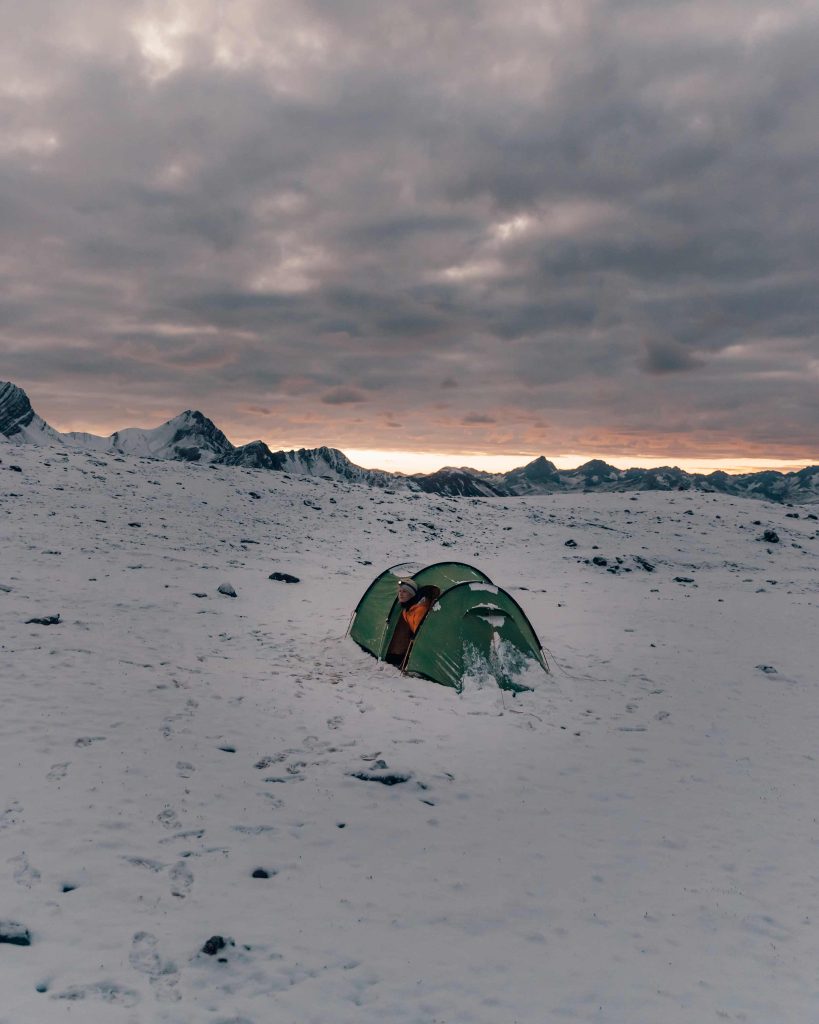
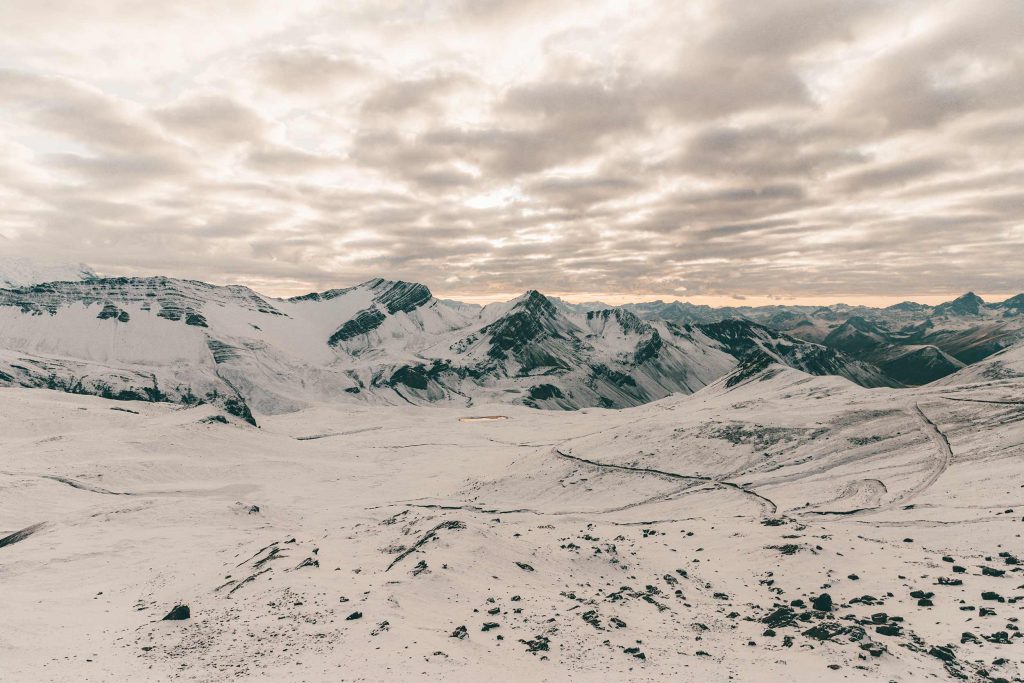
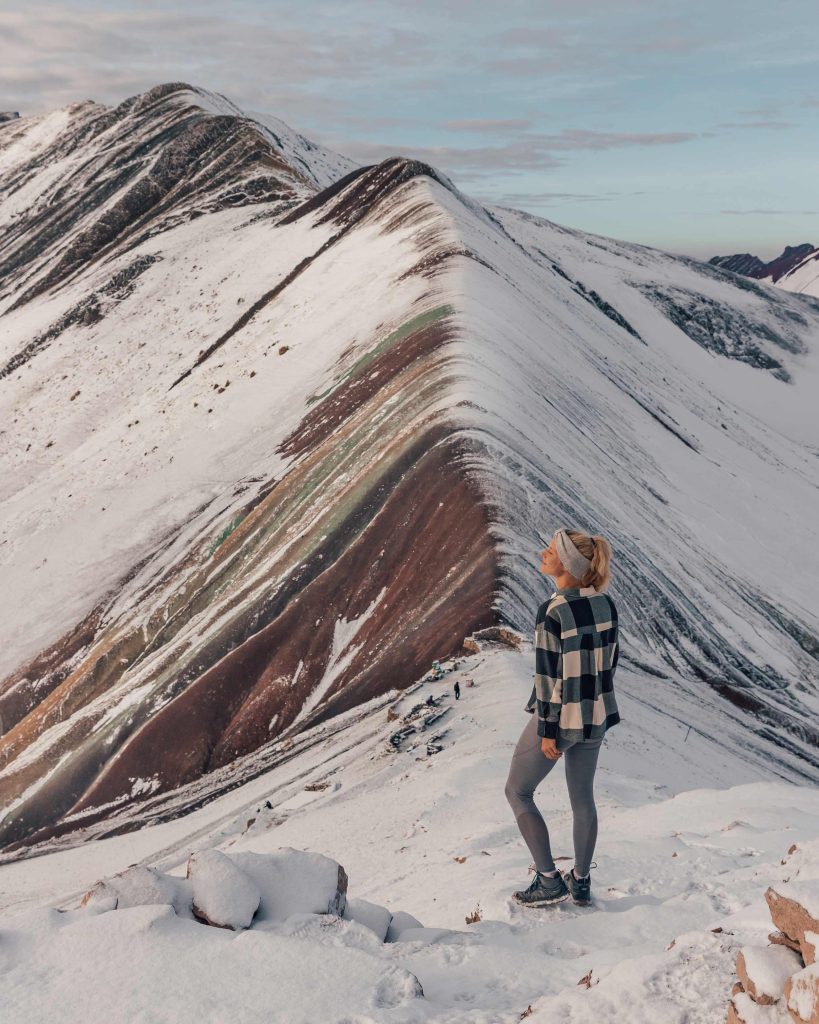
We set our alarms at 5.30am to start the last 2km hike up to the viewpoint of Rainbow Mountain as early as possible. We slowly realized that there was snow on our tent. We heard some noises in the night and thought the dog of the other group lied down next to our tent. In the morning we realized the sound was snow sliding down our tent fabric. We shook the snow down from our tent, opened the tent in the darkness of the night and found 10cm high snow everywhere. We ate some porridge, packed together our snowy wet tent and started hiking up the hill in the snow.
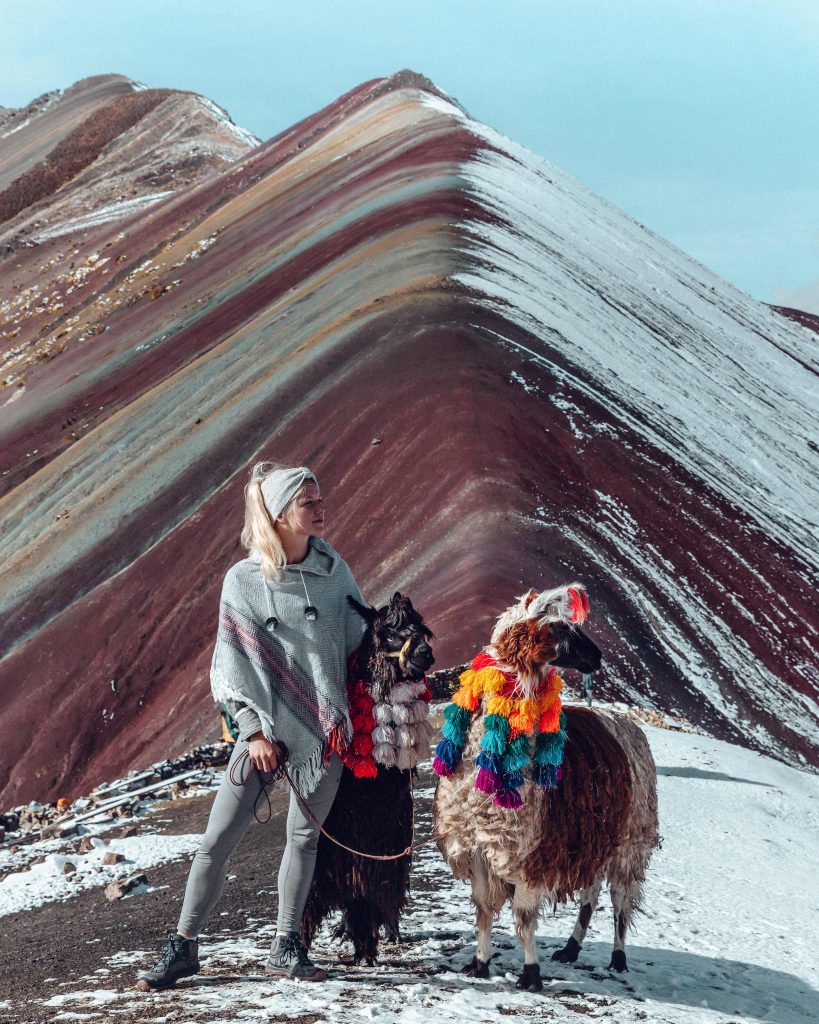
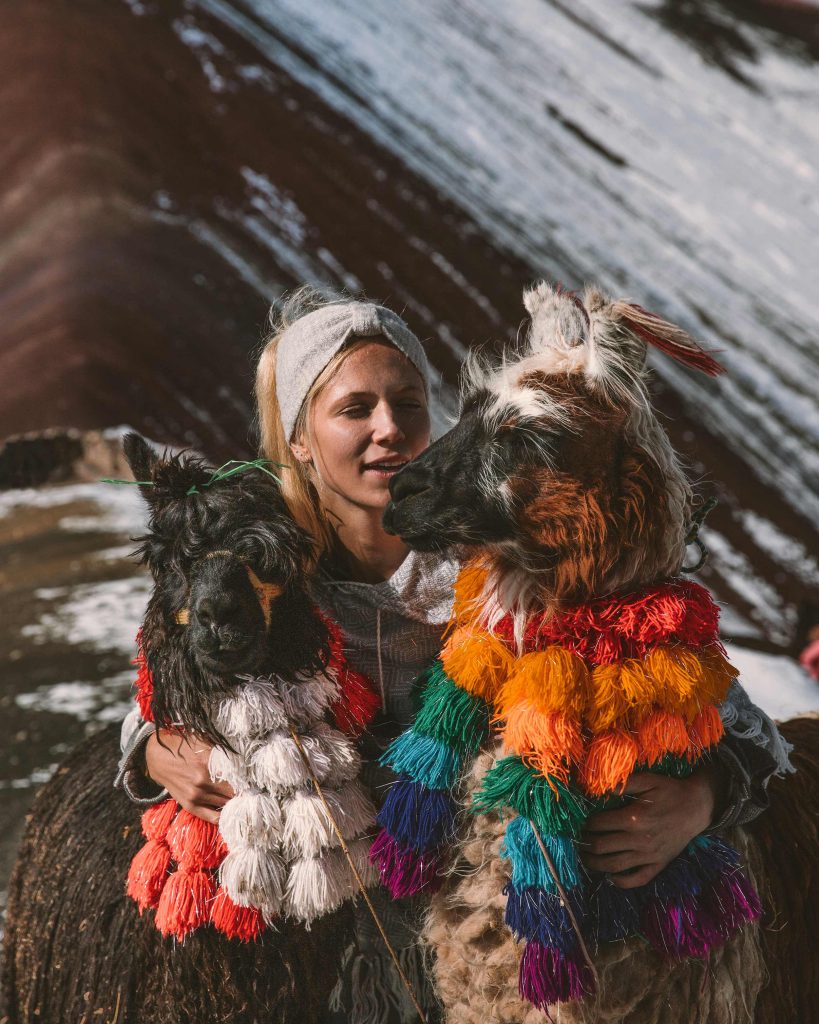
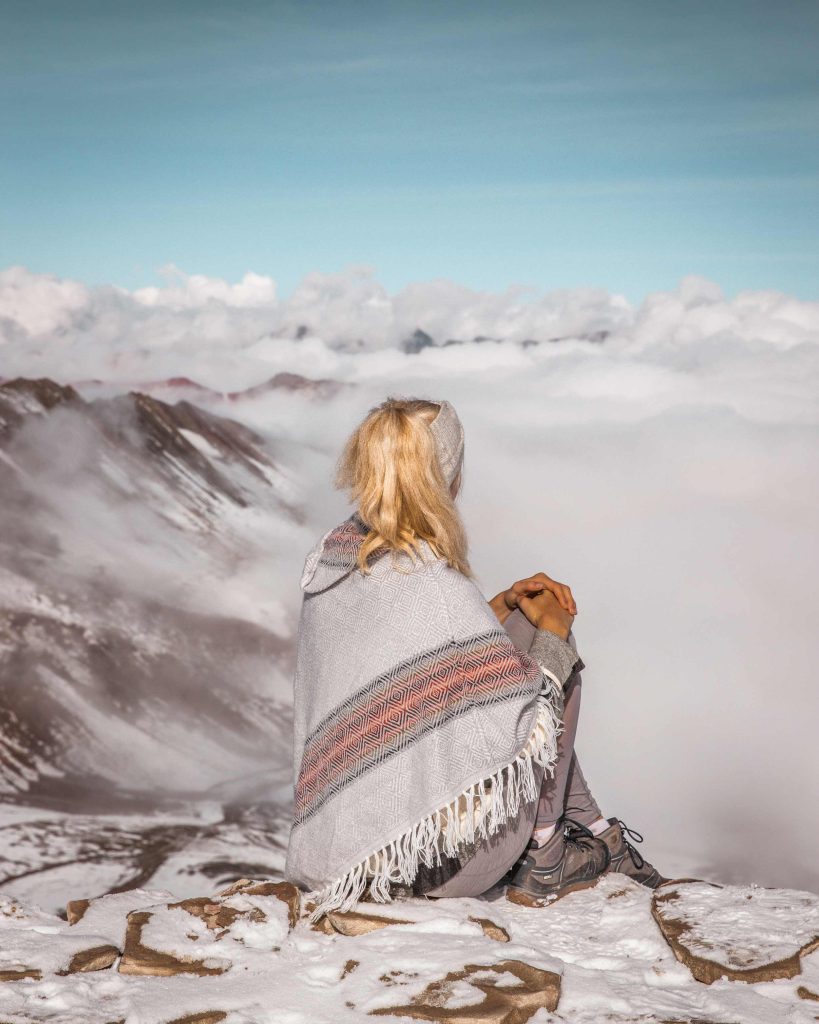
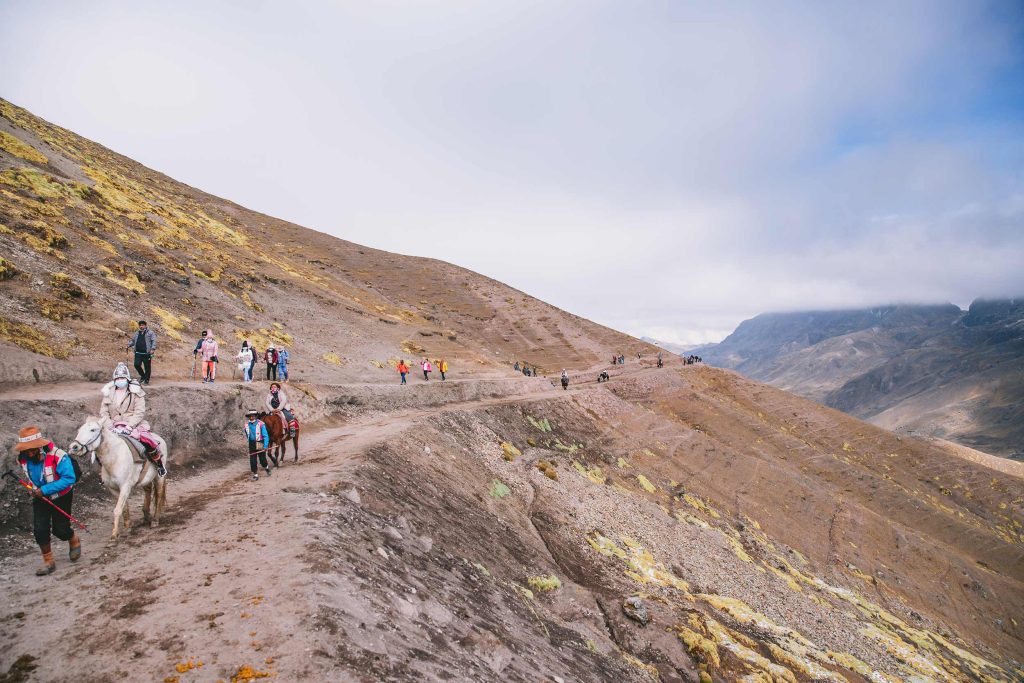
It took us around half an hour until we reached Rainbow Mountain at 7am. Together with the other couple we were the only one there for the hext half an hour. Then another two guys arrived. We had plenty of time to enjoy the Rainbow Mountains without the tourist masses. In the end we could take some pictures with 2 alpacas as well :). Slowly more and more tourists arrived at the mountain. When we hiked down to the common parking lot of Rainbow Mountains (around 30 minutes descend), we passed hundreds of tourists torturing up the mountain by foot or on a horse. Most tourists start their day tour at 5am in Cusco and arrive 3 hours later at the foot of the mountain. It was really horrible to see all of these tourists and not comparable to our experience up there. We felt so lucky to be up there for sunrise due to the Ausangate Trek.
The Rainbow Mountains were formed millions of years ago. Stone layers with different minerals deposited. Originally these sediments were horizontal. Through plate tectonic processes the sediments were stacked vertically, creating these colorful mountains. The layers are eroded unevenly by wind and rain. The different colors developed because of a reaction with water and oxygen. Each of these layers took thousands of years to form!
Magnesium: light pink
Iron sulfide: yellow
Copper: blue / green
Granite : black
In the past, the mountains was covered by huge mass of snow and people were not even aware of the beauty hidden beneath it. Due to global warming the snow got less and less, and this touristic attraction was born.
Vinicunca Valley 4.300m ⟶ Rainbow Mountain 5.000m – 2km
10. Continue with the rest of Ausangate Trek or get picked up at the parking lot of Rainbow Mountains
Red Valley (Valle Rojo)
From Rainbow Mountain viewpoint it’s just another 45 minute hike up to the Viewpoint of the Red Mountains. If you have enough time and if you are feeling fine with the altitude, consider to do this hike, too.
Continue Ausangate Trek
If you want to do the whole Ausangate Trek roundtrip, you have to hike down the Rainbow Mountain hill to Ananta Valley, the same route you already hiked up. Then you take the trails towards Laguna Ausangatecocha. For this return walk consider to leave your stuff at Ananta Valley.
Get picked up at the parking lot of Rainbow Mountains
It was only a short 30 minute hike down the mountain to get to the common parking space for tour busses and taxis. We passed hundreds of tourists, who all asked us if we could see the colorful mountains, probably because they suffered from altitude sickness and wanted to know if it’s worth it. We felt bad for all the small horses who had to carry way too big people up the hill. Before our Ausangate Trek we asked the hostel to organize us a driver picking us up at 10am. He was there at 9:30 am waiting at the parking lot and drove us back to Tinki, where our rental car waited for us in the garage of the hostel. However you can also get a driver directly back to Cusco. Since there is no signal at Rainbow Mountain parking lot, it’s not a good idea to organize a driver only there.
What about altitude sickness?
Throbbing headache, loss of appetite, nausea, lethargy, altered sleep patterns, shortness of breath, these are symptoms of altitude sickness. It can start at 2.500m, but for most people once passing beyond 3.000m.
With higher altitude, the air gets thinner, oxygen levels decrease and – for those not used to being at higher altitudes – your body is rebelling. Your physical condition doesn’t influence the chance of getting altitude sickness, however it definitely helps with the long climbs.
It’s necessary to plan enough days for acclimatization! Coming from Lima with near sea-level you really need to adjust and relax in Cusco sitting on 3.400m. Your body needs to get used to simply functioning on less oxygen. After one or two relaxing days in Cusco, you can slowly start with a day hike like Humantay Lake, if that worked, climb Rainbow Mountains afterwards. Also it helps to really take it slow (don’t strain), take a lot of breaks, drink a lot of water, sleep a lot, don’t eat heavy and don’t drink coffee. The locals swear on coca tea, coca pills, coca sweets. We tried coca tea and coca sweets, it tasted okay, don’t know if it really helped ;).
Once you get really sick, you feel crappy for another few days, so don’t exaggerate. The campsites of Ausangate Trek on 4.600m and 4.800m are no fun without acclimatisation!
Where to stay in Tinki?
We stayed at Hostal Sol de Ausangate. The rooms were more than simple and the only shared bathroom was really bad. But they were the only people we could reach via whats app beforehand and they organized everything listed below very well for us:
- driver from Tinki to the entrance of the trek (30 minutes drive) – 10 USD
- driver from Rainbow Mountains back to Tinki (3 hours drive) – 80 USD
- gas stove (we didn’t manage to buy the right gas for our stove) – 10 USD
- map of Ausangate Trek – for free
- breakfast of tea, bread and marmelade – for free
- garage for our rental car – for free
What equipment do I need?
There are no lodges or established campsites with facilities you must be self-sufficient. Either you carry your own tent, gas stove, food, sleeping mat and sleeping bag in your backpack (the less weight the better) or you book a guided tour, where porters carry your luggage and a cook serves you the meals. We decided to carry our luggage ourselves and took a lot of light food with us. With campsites on 4.600 and 4.800m it’s important to have sleeping bags for under 0 degree, since it gets bitter cold in the night!
Things you can eat during your hike:
- muesli bars and fruit bars (perfect snack for now and then)
- instant noodle soup (needs a gas stove)
- mashed potato powder mixed with water (works also with cold water in case your gas stove doesn’t work)
- couscous with dried tomatoes and dried soya meat (works also with cold water in case your gas stove doesn’t work)
- chocolate
Guided tour or all alone? Prices?
You can do the Ausangate Trek on your own – many people do. However you must be able to carry a tent, sleeping mat and bag, gas stove and food in your backpack on your back for 6-7 hours a day in high altitude!
A guided tour might probably feel a lot easier and you don’t have to manage the drivers with the hostel. But guided tours are also expensive, especially when you don’t want to hike in a bigger group. On our independent trek we only payed around 110 USD in total for two people including fees on the trek and all drivers. Also we didn’t like the idea that small Peruvian locals have to carry all of our big luggage, that people have to prepare our tent and a cook prepare a three course menu.
Is it easy to find the hiking trail?
Maps.me provides a really good map with all the hiking trails, download the map before you loose signal ;). Also you can find gps tracks online. However most of the time we could see the trail pretty well, around 5 times we had to look at our phone if we are still right, especially around the lakes where there are two options. However, it can snow all year long, and you might not see the trails that good covered with snow.
About the weather? When is the best time?
The dry season, also the winter in Peru, runs from May to September. In these months you have a high chance of almost no rain fall. However in an altitude of 4.000 to 5.000 meters it can snow all the time. Be prepared with your clothes! We had 10cm snow on our third day at 4.800 meters.
The wet season runs from October to April. There is a high risk of rainfall and we would not recommend to do the Ausangate Trek in this period of the year!
We did the Ausangate Trek in September and in the day it was really warm, the first part I even only wear a cropped top. At the 5.000m passes it was a little colder, so I wore a shirt. However the nights get bitter cold. In the morning and evening you definitely need a warm and light prima loft jacket layered with a rain jacket. We only needed one hiking pants but had another one in our backpack in case of rainfall.
Alternatively: Day tour from Cusco to Rainbow Mountains Vinicunca or Palccoyo
You think the pictures of Ausangate Trek look beautiful but hiking is just not for you? Then you can book a simple day tour from Cusco to Rainbow Mountains. But keep in mind to start as early as possible! If you hire a private driver you can start around 4am to arrive at Rainbow Mountains at 7am before the tourist busses arrive.
There is another option to beat the crowds: Actually there are two Rainbow Mountains in different areas. Rainbow Mountain Vinicunca is the popular one and only reachable on the Ausangate Trek. The second Rainbow Mountain Palccoyo is flatter then Vinicunca but less visited and also really beautiful. The advantage of Palccoyo is the comparable easy hike up the hill! Although Palccoyo also lies at 5.000 meters it’s only a 20 minute hike compared to the 2 hour Vinicunca hike. From Cusco to Palccoyo you will need 3.5 hours with the car or bus.
Anzeige / ad: The hotels and companies we mentioned above didn’t sponsor us. Our recommendations are based on our own opinion.
Comments (1)
Write a Comment
Follow our journey on Instagram


[…] ↠ Read more: “We did the Ausangate Trek to Rainbow Mountains!” […]